Beef Dino Ribs: Smoky Perfection
Author
Want to see more of my creations?
Tell Google you want to see more of my creations in your search results.
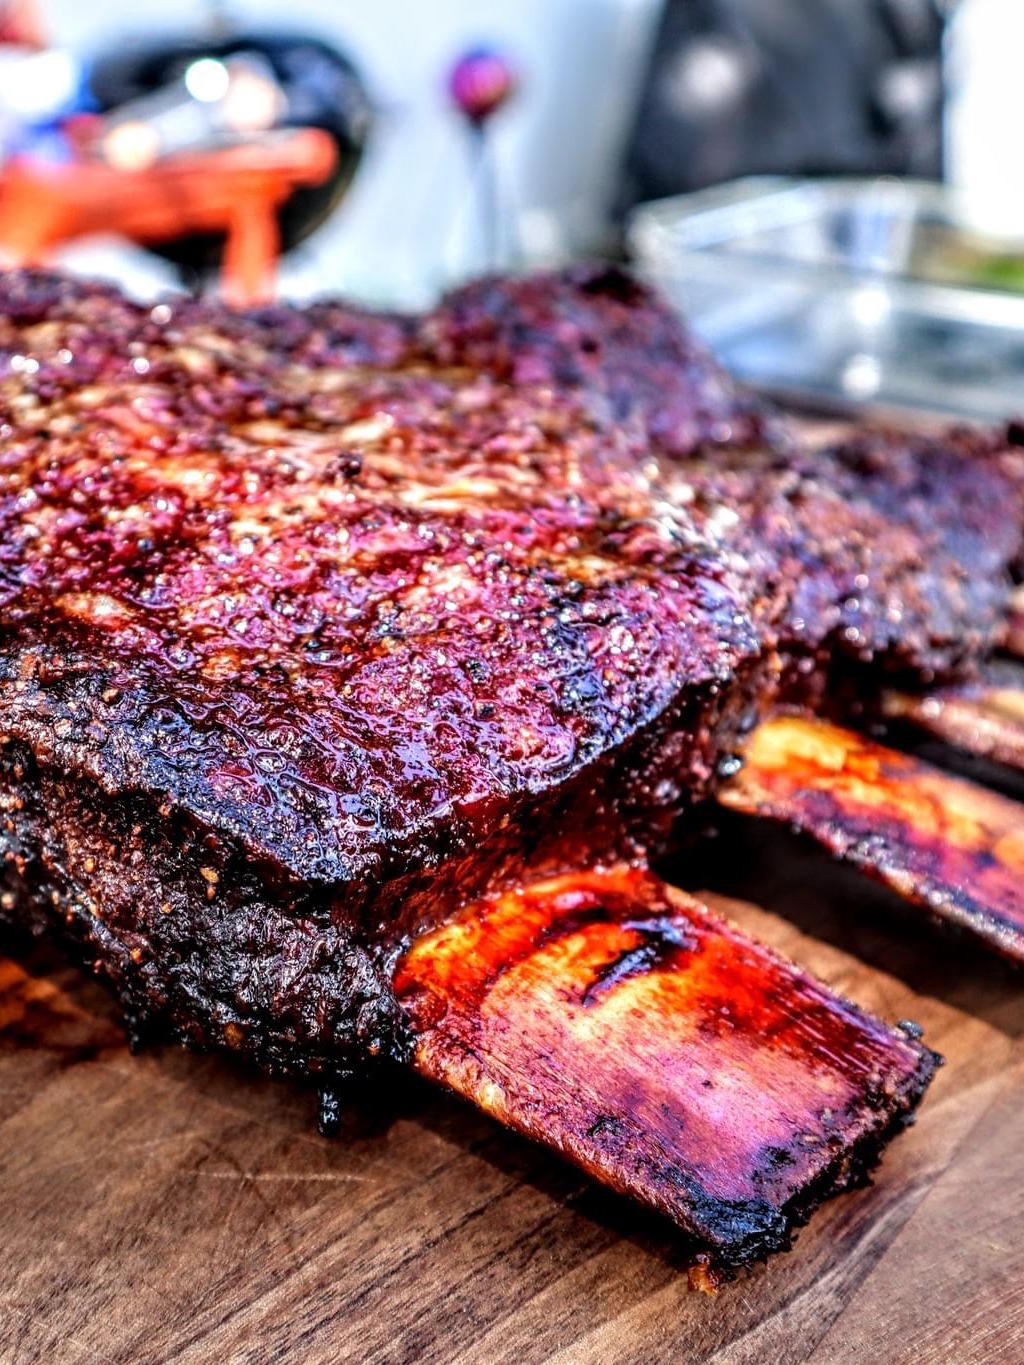
When I want barbecue that makes everybody go quiet for a minute, I throw on a rack of beef dino ribs. These big, beefy plate ribs bring smoky perfection with a peppery bark, soft rendered fat, and meat so rich it eats like brisket with a built-in handle.
More recipes from @thegalleryBBQ that you'll love
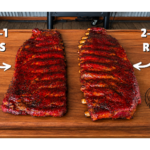
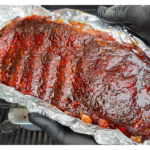
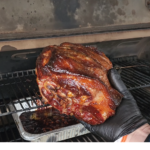
Watch How to Make It
I keep this cook simple because the ribs already bring plenty to the party. Salt, pepper, garlic, clean smoke, and a little patience – that's the whole game here.
The best part is you don't need to babysit them every five minutes. Get your smoker steady, let the bark build, and cook until the meat feels right. Trust me, your backyard is going to smell unfairly good.
Why You'll Love This Recipe
These smoked beef ribs have that big Texas barbecue feel without a complicated ingredient list or a fussy wrapping routine. The seasoning lets the beef stay front and center, while the smoke adds that deep, savory edge we all chase.
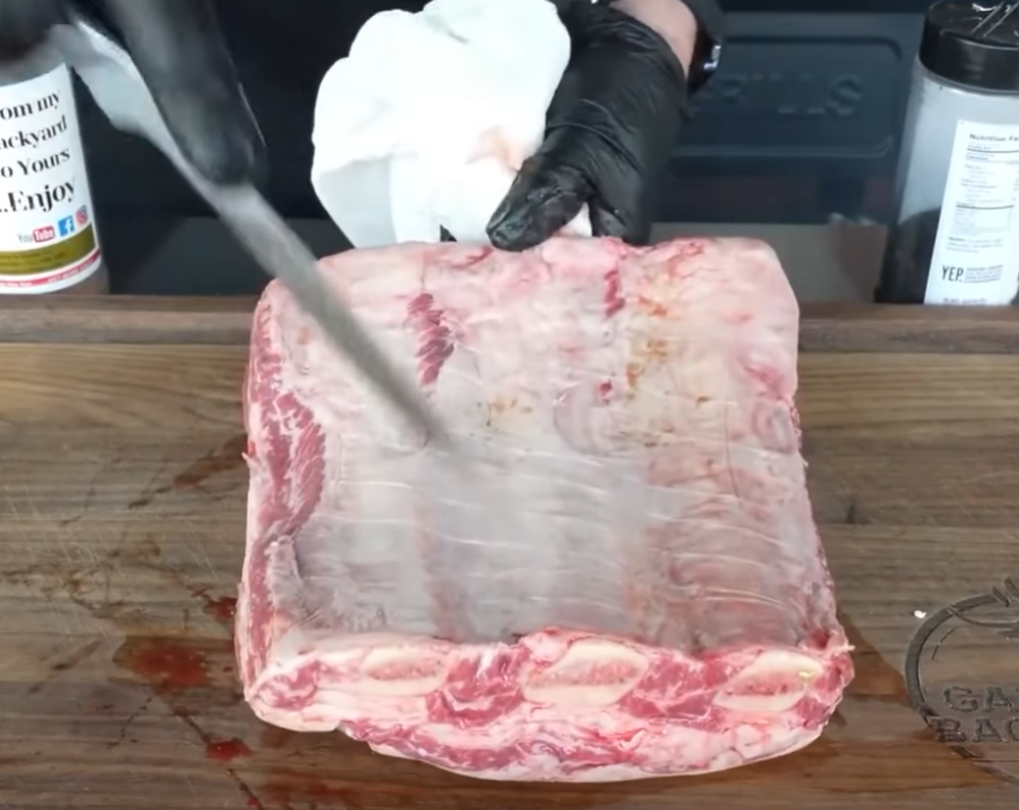
Scoring the fat cap is a small move that pays off in a big way. It helps the fat render across the rack instead of sitting there in one thick, chewy layer, so every bite stays juicy without getting greasy.
And this is serious crowd food. One rack of three-bone plate ribs looks downright prehistoric on a cutting board, and the slices disappear faster than a cold beer in July.
Get @thegalleryBBQ’s Latest Creations
Subscribe to get new content from @thegalleryBBQ delivered to your inbox.
Ingredients & Tools You'll Need
You only need one rack of beef dino ribs, preferably a meaty three-bone plate rib rack. Look for good marbling and a fat cap that covers the top without giant, hard chunks of fat hanging around.
For the rub, I use equal parts kosher salt, fresh cracked black pepper, and granulated garlic. Coarse pepper matters here because it helps build that rugged black bark instead of melting into the meat and disappearing.
You'll also need water and apple cider vinegar mixed fifty-fifty for spritzing. Grab a spray bottle, a sharp trimming knife, a cutting board, an instant-read thermometer, and a thermometer probe or toothpick for checking tenderness.
Your smoker needs to hold between 250 and 275 degrees F without wild swings. Use your favorite smoking wood, but keep the smoke light and clean – thin blue smoke smells sweet and woody, while thick white smoke can make those beautiful ribs taste bitter.
How To Make It
This cook is about building layers without rushing anything. First we trim and season, then we leave the ribs alone long enough for the surface to dry, darken, and turn into bark before spritzing.
Temperature gives us a useful checkpoint, but tenderness makes the final call. A rack can hit 200 degrees F and still need more time, so we're cooking by feel all the way to the finish.
Preparation
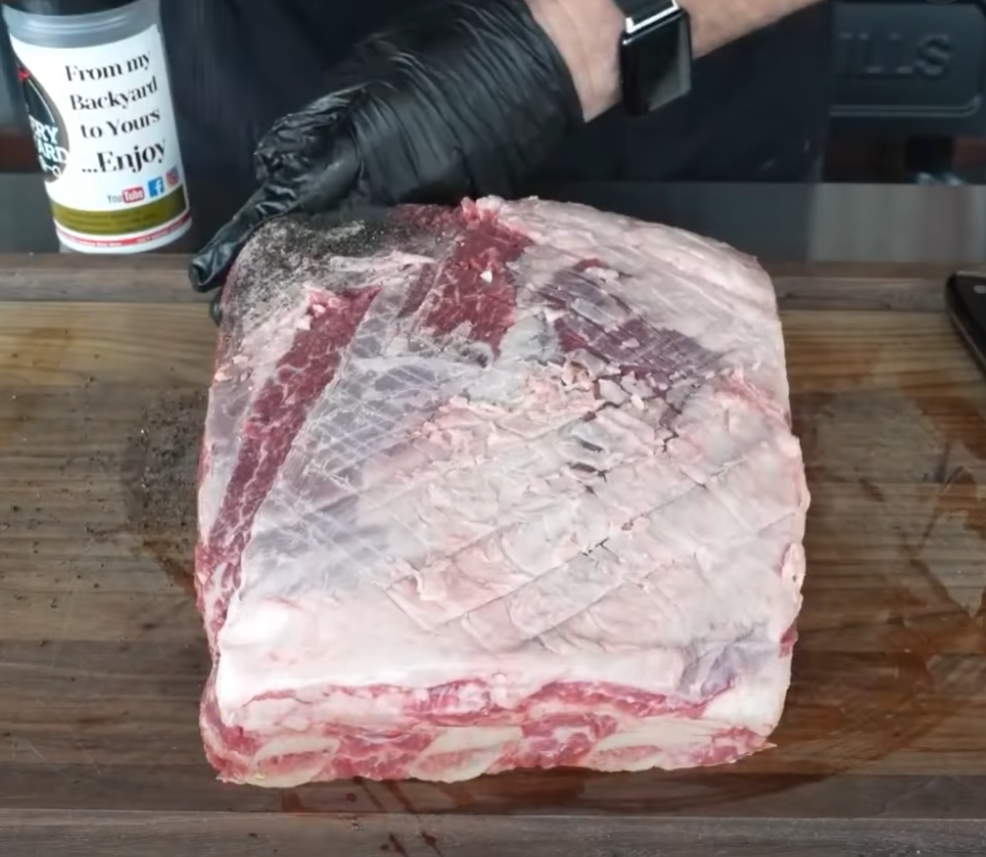
Start by trimming off any loose flaps of meat or fat that could burn in the smoker. Leave most of the fat cap in place because it protects the meat and slowly bastes the rack, but shave down any unusually thick, hard areas that will not render well.
Lightly score the fat cap in a crosshatch pattern without cutting deep into the meat. Those shallow cuts give the rub places to cling and create little channels for rendered fat to escape instead of pooling on top.
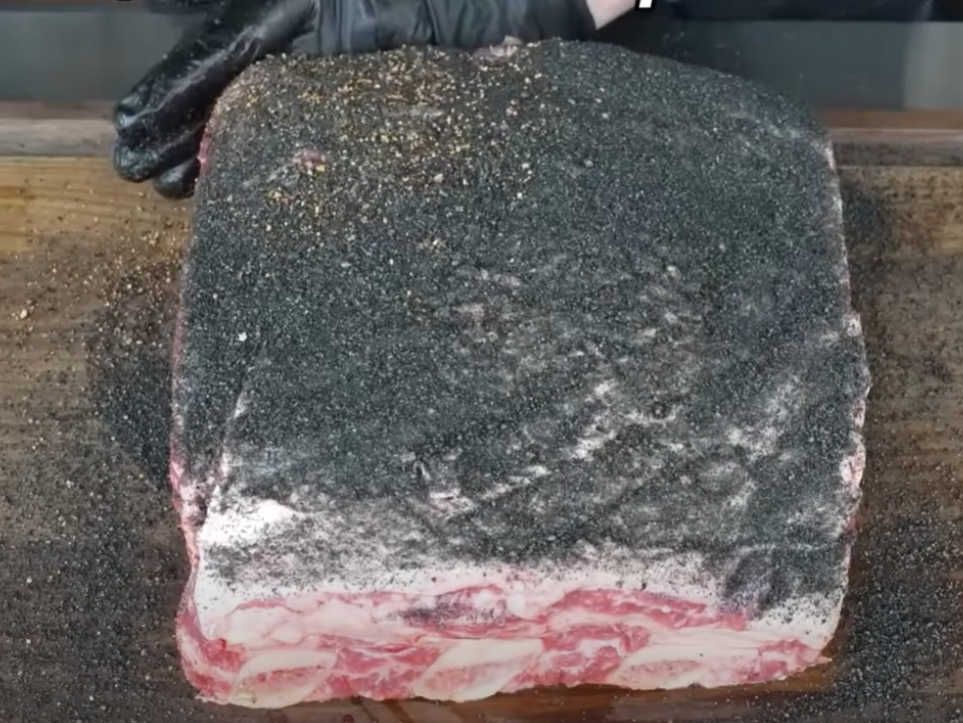
Season every surface generously with equal parts kosher salt, coarse black pepper, and granulated garlic. Let the ribs sit on the cutting board for about 45 minutes while you bring the smoker to 250 to 275 degrees F – you'll notice the seasoning darken and look slightly wet as the meat starts to sweat.
This is where most recipes go wrong: they rush the rack into the smoker or keep opening the lid too early, which slows bark development and washes away the beefy crust. I give the seasoning time to bond, then leave the ribs untouched for the first two hours so the bark can set before any spritz hits it.
Cooking
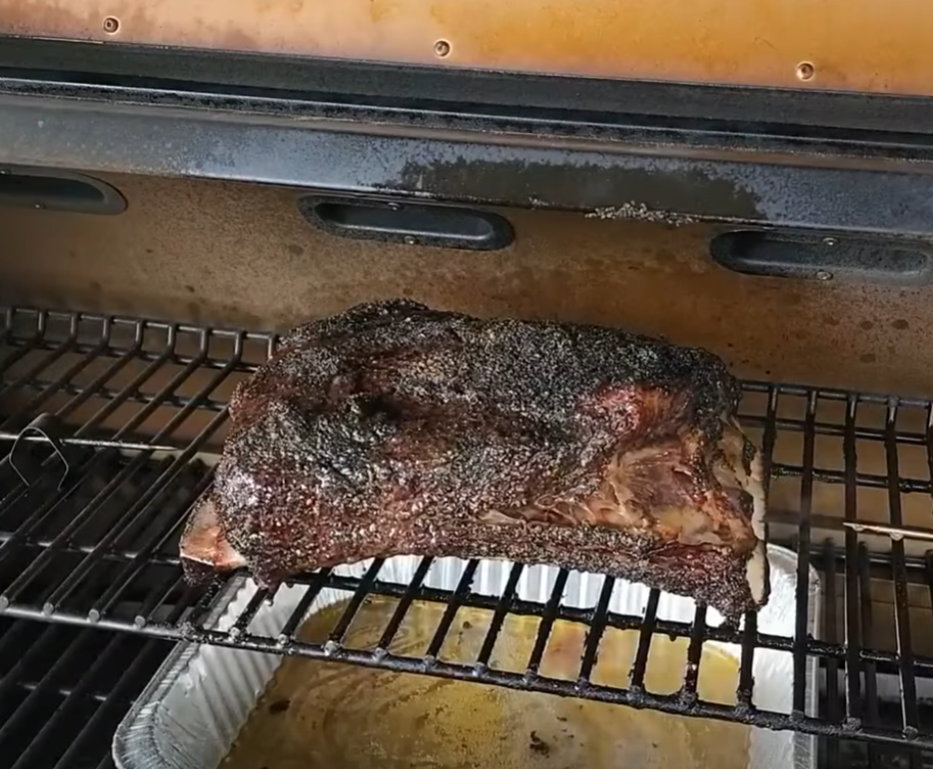
Place the ribs on the middle rack with the membrane side facing down once your smoker is holding steady. Close the lid and let them ride untouched for the first two hours – you should smell clean wood smoke and warm beef fat, not harsh smoke or scorching grease.
At the two-hour mark, quickly open the smoker and lightly mist the surface with your water and apple cider vinegar mixture. The bark should be turning deep mahogany to nearly black around the edges, and the spritz should bead on the surface rather than rinse your seasoning away.
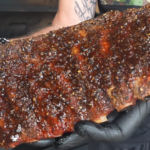
Keep smoking, then give the ribs one more light spritz around the four-hour mark. By then, the rack should look dark, dry, and craggy, with fat slowly bubbling in the scored lines and a little jiggle when you nudge the bones with tongs.
Keep cooking until the internal temperature reaches at least 200 degrees F, but don't pull them just because the thermometer says so. Slide a probe or toothpick between the bones and into the thickest meat – it should glide in with almost no resistance, like pushing into warm butter, and the meat should feel relaxed rather than tight or springy.
Most racks take around six hours, though thickness, marbling, weather, and smoker behavior can move that number around. When they are ready, pull them off and rest them for 20 to 30 minutes so the juices settle back into the meat instead of flooding your cutting board.
Serving & Variations
Slice between the bones and serve these ribs just as they are. That bark, rendered fat, and smoky beef flavor do not need a heavy sauce, although a little sauce on the side is fair game for the folks who can't help themselves.
I like pairing them with simple sides that can handle a rich main dish – tangy slaw, pickles, beans, potato salad, or cornbread all work great. Keep something crisp and acidic on the table because it cuts through the richness and gets you ready for another bite.
A common consensus among experienced backyard cooks is that beef ribs are better served with restraint. Let the bark and rendered beef shine, then offer sauce on the side instead of covering up the flavor you spent all day building.
My pro tip is to check tenderness in three spots before pulling the rack – one near each bone and one in the thick center section. Plate ribs can finish unevenly, and this quick check prevents that frustrating moment when two bones are perfect but the middle still eats a little tight.
If you have leftovers, pull the meat from the bones and store it in an airtight container with any juices from the cutting board. Reheat it gently, covered, with a splash of water so the meat warms through without drying out, then use it for tacos, beef sandwiches, or a wildly good breakfast hash.
Beef dino ribs are large, meaty beef plate ribs cut from the lower rib section. They are known for their rich beef flavor, thick bones, and tender texture when cooked low and slow. Cook beef dino ribs until they are probe tender, usually around 200F to 210F. Temperature is a guide, but the ribs are ready when a thermometer or skewer slides into the meat with very little resistance. Most beef dino ribs take about 6 to 10 hours at 250F, depending on their size, thickness, and smoker temperature. Allow extra time for resting before serving. Wrapping is optional. Leave them unwrapped for a firmer bark, or wrap them in butcher paper after the bark is set to help speed up cooking and retain moisture.Frequently Asked Questions
What are beef dino ribs?
What internal temperature should beef dino ribs reach?
How long does it take to smoke beef dino ribs?
Should I wrap beef dino ribs during cooking?
Wrapping Up
These are the kind of ribs that remind me why low-and-slow barbecue is worth the wait. Keep the seasoning simple, protect that first two-hour bark-building window, and trust the toothpick more than the clock.
Once you slice into that dark crust and see the juicy, smoky meat underneath, you'll get it. Recipe created by @thegalleryBBQ for Trust Me Try It.
Even more from @thegalleryBBQ
Ingredients
- 1 rack beef dino ribs 3-bone plate ribs
- Kosher salt
- Fresh cracked black pepper
- Granulated garlic
- 50/50 mixture of water and apple cider vinegar for spritzing
Instructions
- Start by trimming away any loose pieces of fat or meat hanging from the rack. Leave most of the fat cap intact, trimming only the thickest areas if needed. Lightly score the fat cap in a crosshatch pattern to help the seasoning penetrate and allow the fat to render more evenly.
- Season the ribs generously with equal parts kosher salt, coarse black pepper, and granulated garlic, making sure every side is well coated.
- Let the ribs rest on the cutting board for about 45 minutes to sweat while you fire up the smoker.
- Preheat your smoker to 250-275°F using your favorite smoking wood.
- Once the smoker is holding a steady temperature, place the ribs on the middle rack with the membrane side facing down.
- Smoke the ribs untouched for the first 2 hours. No peeking-let the smoker do the work.
- After 2 hours, lightly spritz the ribs with a 50/50 mixture of water and apple cider vinegar.
- Continue cooking for another 2 hours, then spritz once more at the 4-hour mark.
- Continue smoking until the ribs reach an internal temperature of 200°F or higher, and a probe or toothpick slides into the meat with little to no resistance.
- Expect a total cook time of approximately 6 hours, depending on the size of the ribs and your smoker.
- Remove the ribs from the smoker and let them rest for 20-30 minutes before slicing between the bones.
- Serve as-is and enjoy some of the richest, beefiest barbecue you’ll ever eat.
- Don’t rush these ribs. Cook by feel, not by temperature alone. When a toothpick slides into the meat like warm butter, they’re ready to eat.