
Homemade Bread: Easy Recipe for Fresh Baked Loaves
Author


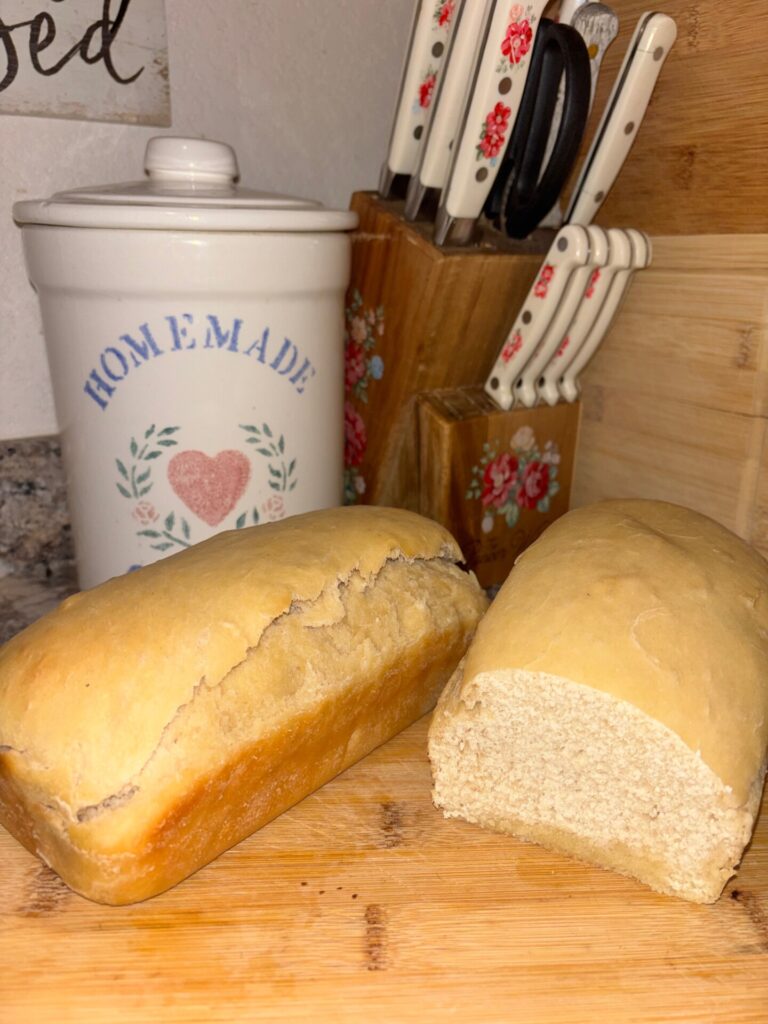
Homemade bread is one of those comforting things that can turn any day around. The smell of fresh-baked loaves wafting through the house is enough to make anyone feel right at home. Plus, there’s something so satisfying about pulling a warm, golden loaf from the oven and slicing into it.
More recipes from Blue Collar Chef that you'll love

Trust me, once you try this easy recipe for fresh-baked loaves, you’ll never want to go back to store-bought.

Get Blue Collar Chef’s Latest Creations
Subscribe to get new content from Blue Collar Chef delivered to your inbox.
Ingredients & Tools You'll Need
You can even customize these loaves to your liking! Want to add some garlic for a savory twist? Go for it.
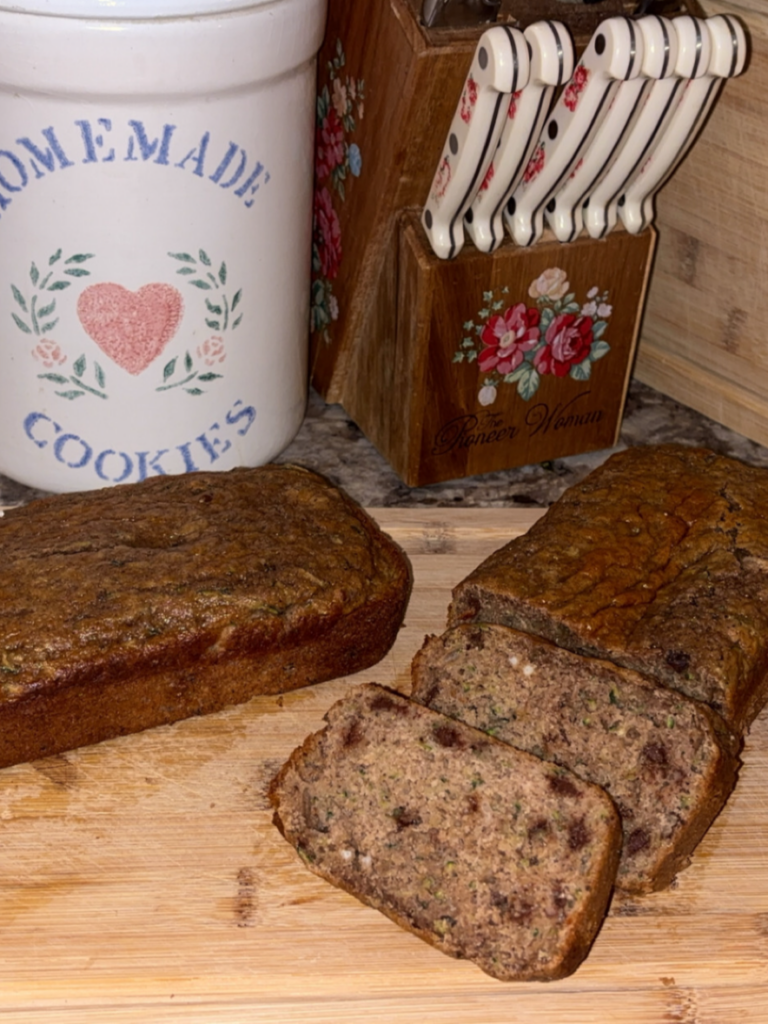
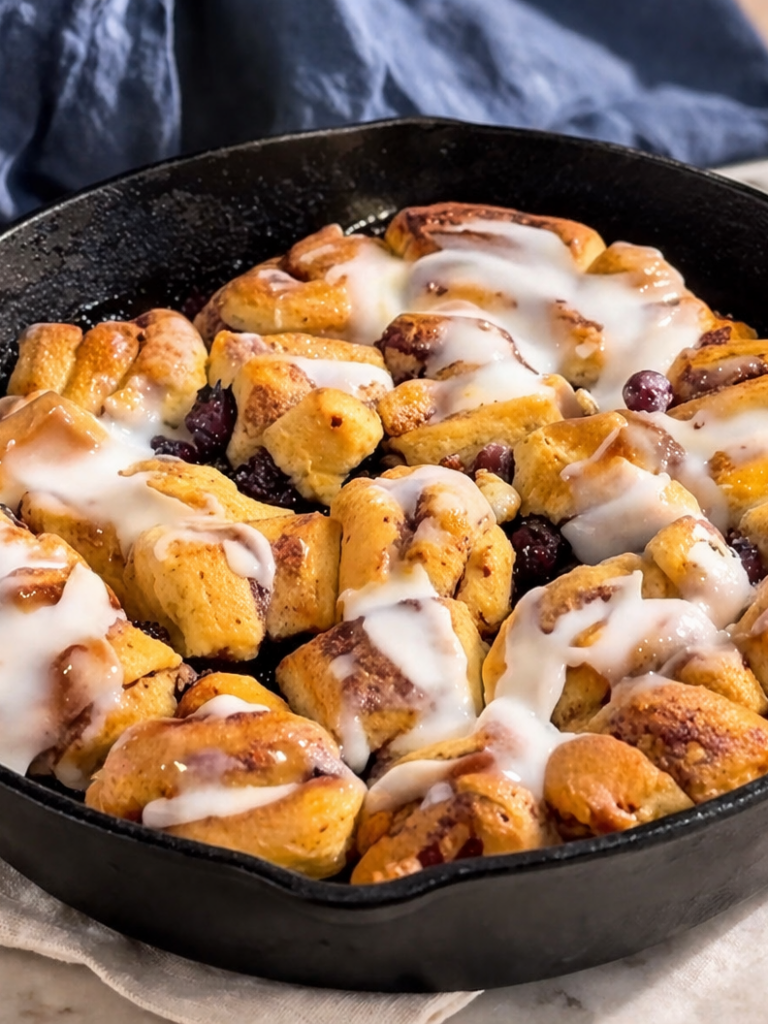
Craving a hint of sweetness? Toss in some cinnamon and sugar for a delightful cinnamon swirl. The possibilities are endless, and that’s the beauty of homemade bread.
Why You'll Love This Recipe
This homemade bread recipe is a game changer for a few reasons. First off, the flavor is out of this world. It's soft, fluffy, and has that perfect crust that you just can’t get from the store.
Plus, the aroma that fills your kitchen while it bakes is like a warm hug-you’ll want to keep making it just for that smell alone.
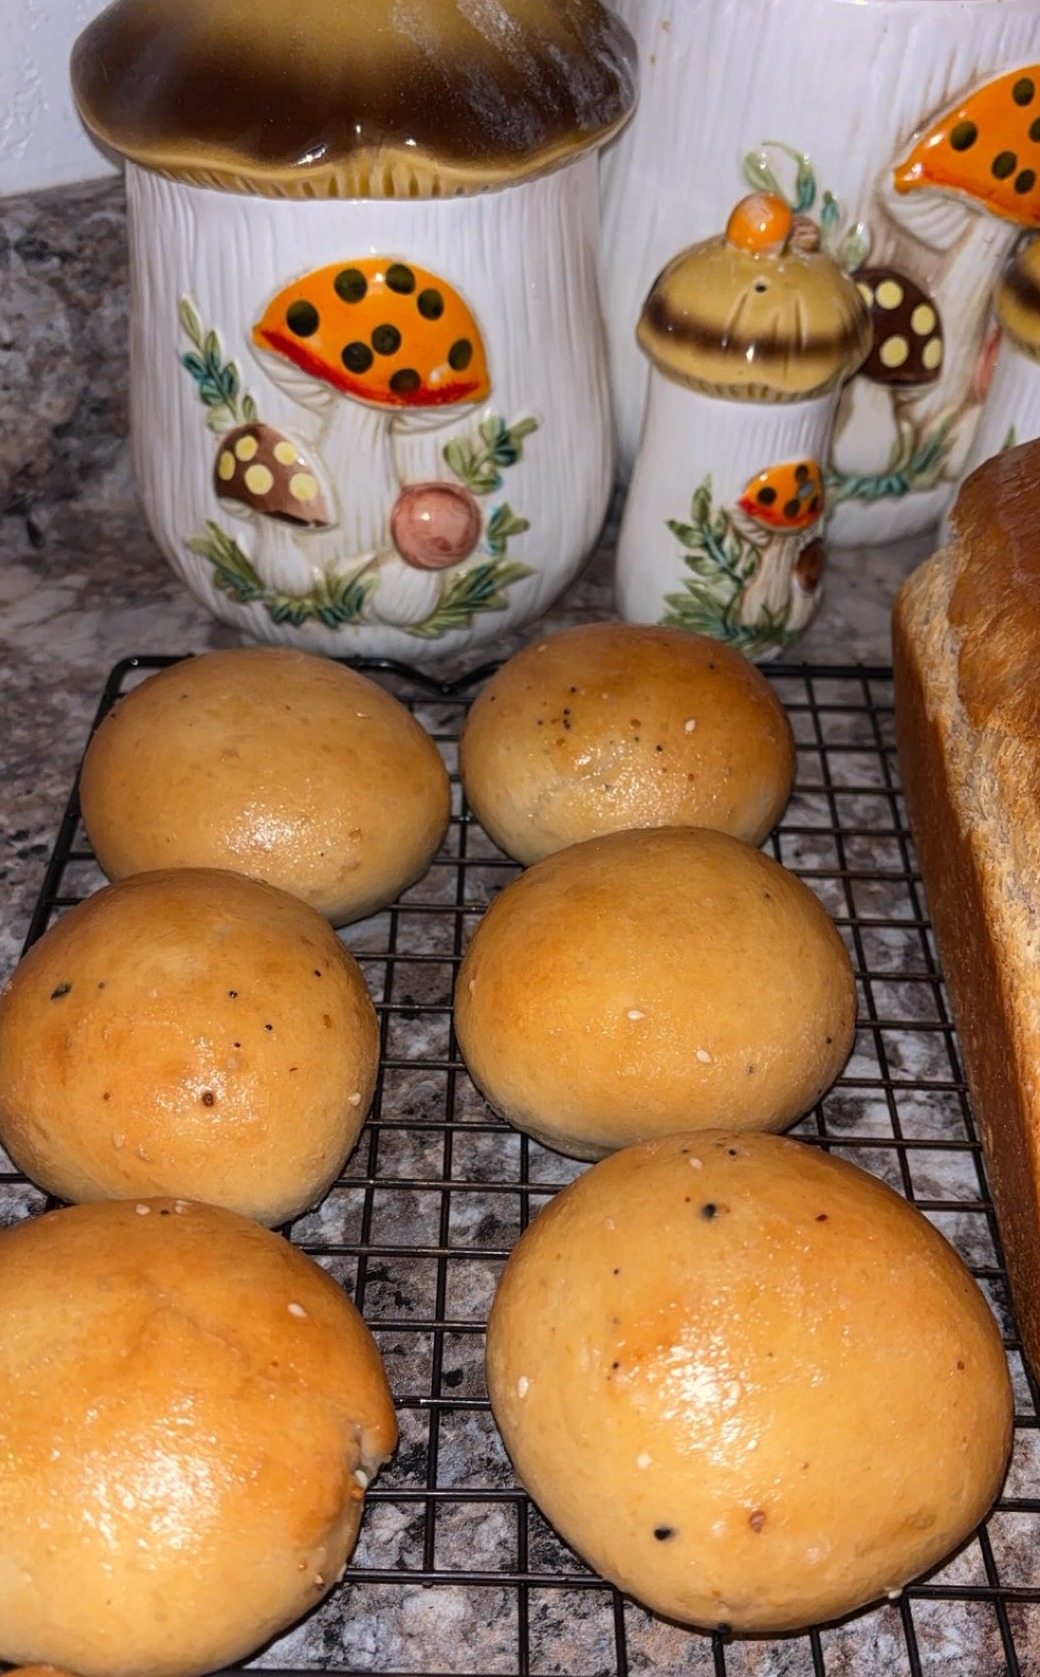
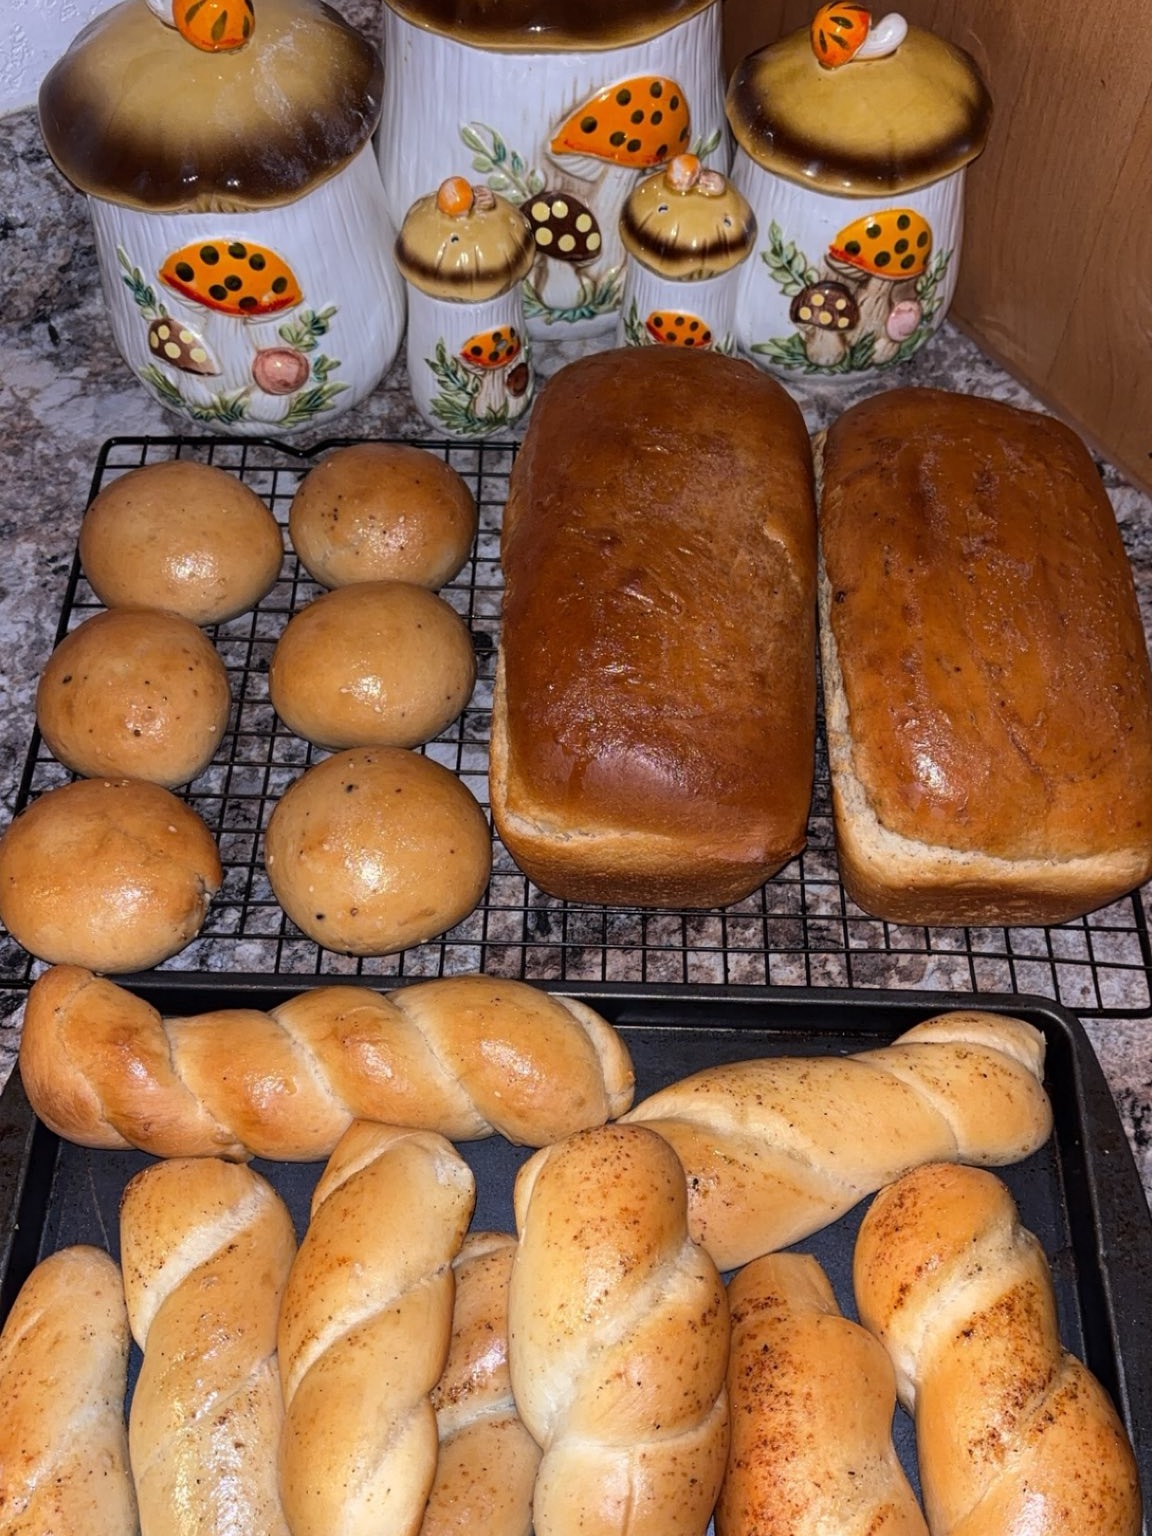
Another reason to love this recipe is its versatility. You can enjoy it as a classic sandwich loaf, make mini loaves to share, or even whip up some delightful breadsticks. And let's not forget about the cost savings.
Making your own bread at home can save you some bucks, especially if you’re feeding a crowd. It’s budget-friendly and a crowd-pleaser, making it a win-win in my book.
With just a few simple ingredients, you can create something that feels special. There’s something about the process of making bread by hand that connects you to your food. It’s a therapeutic way to spend some time in the kitchen, and you’ll feel accomplished every time you slice that first piece.
Let’s get into the nitty-gritty of what you’ll need to whip up some amazing bread. The main star of the show is bread flour-about 5 to 6 cups will do the trick. Bread flour has a higher protein content compared to all-purpose flour, which gives your bread that chewy texture and sturdy structure we all love.
You’ll also need sugar, salt, active dry yeast, water, and oil or shortening. The sugar isn’t just for sweetness; it feeds the yeast, helping your bread rise beautifully. And don’t forget about a tablespoon of melted butter for that extra richness.
Grab a large mixing bowl, a whisk, and a couple of loaf pans, and you’re all set to start baking.
If you're feeling adventurous, I recommend having some sesame seeds or poppy seeds on hand for topping. It adds a nice crunch and makes your bread look fancy without much effort. Keep your kitchen warm and cozy because it helps with the rising process; a little love goes a long way in homemade bread.
How To Make It
Now that we’ve got our ingredients ready, let’s get this bread-making party started! Making bread may sound intimidating, but trust me, it’s easier than you think. The key here is to take your time and enjoy the process.
Preparation
First things first, combine 2 cups of flour, sugar, salt, and yeast in a large bowl. Mix it well so everything’s combined nicely. Then, in a small saucepan, heat your water and oil until it’s nice and warm-think about 120 to 130 degrees Fahrenheit.
It’s crucial to get this temperature right because if it’s too hot, you’ll kill the yeast, and if it’s too cold, the yeast won’t activate.
Once your liquid is warm, pour it into the flour mixture and blend it at low speed. You want to get everything moistened before kicking it up to medium speed for about three minutes. After that, it’s time to get your hands dirty.
Stir in an additional 2 and a half to 3 cups of flour until the dough pulls away from the bowl sides.
Cooking
Now it’s time to knead! On a floured surface, knead the dough for about five minutes until it’s smooth and elastic. You’ll know you’re there when it feels soft and slightly tacky but not sticky.
Once you're happy with it, place the dough in a greased bowl, cover it loosely with plastic wrap and a towel, and let it rise in a warm spot. This is the time to chill out for about 45 to 60 minutes while your dough doubles in size.
Next, you’ll want to punch down the dough a few times to release any air bubbles. Divide it in half and shape those halves into loaves. Place them in greased loaf pans and cover them again to rise for another 30 to 35 minutes until they’re about an inch above the pan edges.
Preheat your oven to 375 degrees Fahrenheit while they’re rising.
When the loaves look puffy, uncover them and pop them in the oven for about 40 to 50 minutes. You’ll know they’re done when they sound hollow when tapped lightly. Once they’re out, let them cool on wire racks for an hour-if you can resist the temptation to slice right away!
Serving & Variations
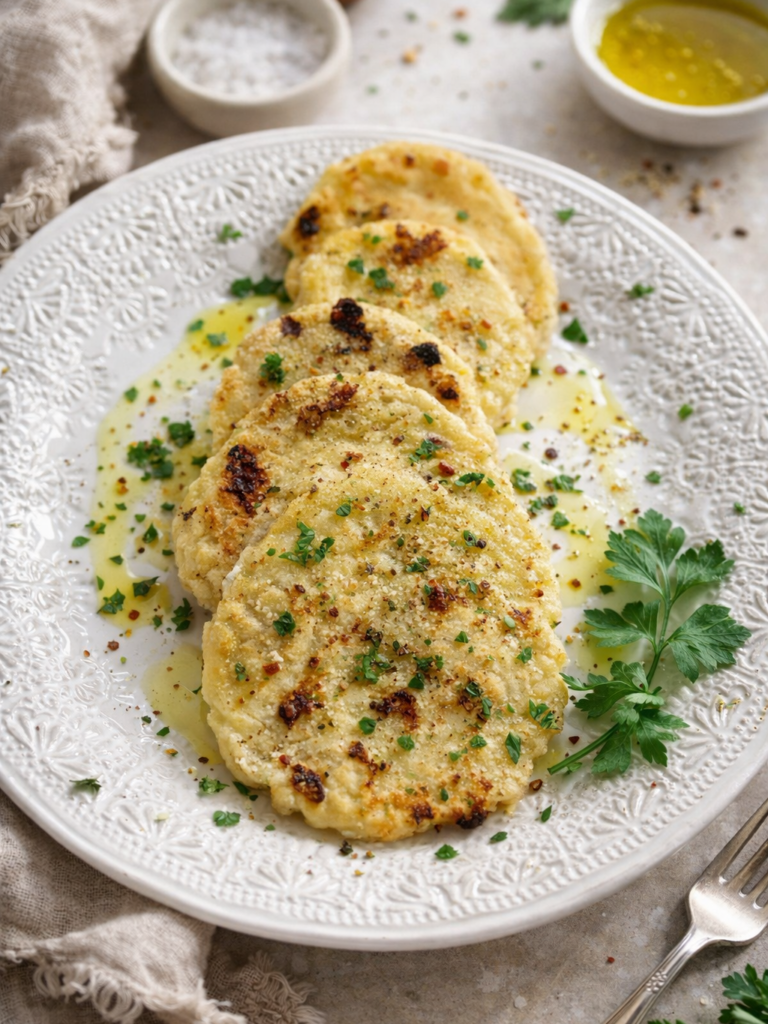
There are so many ways to serve this bread. You can enjoy it plain, slathered with butter, or as the base for a killer sandwich. And if you’re feeling creative, try making mini loaves or even breadsticks for a fun twist.
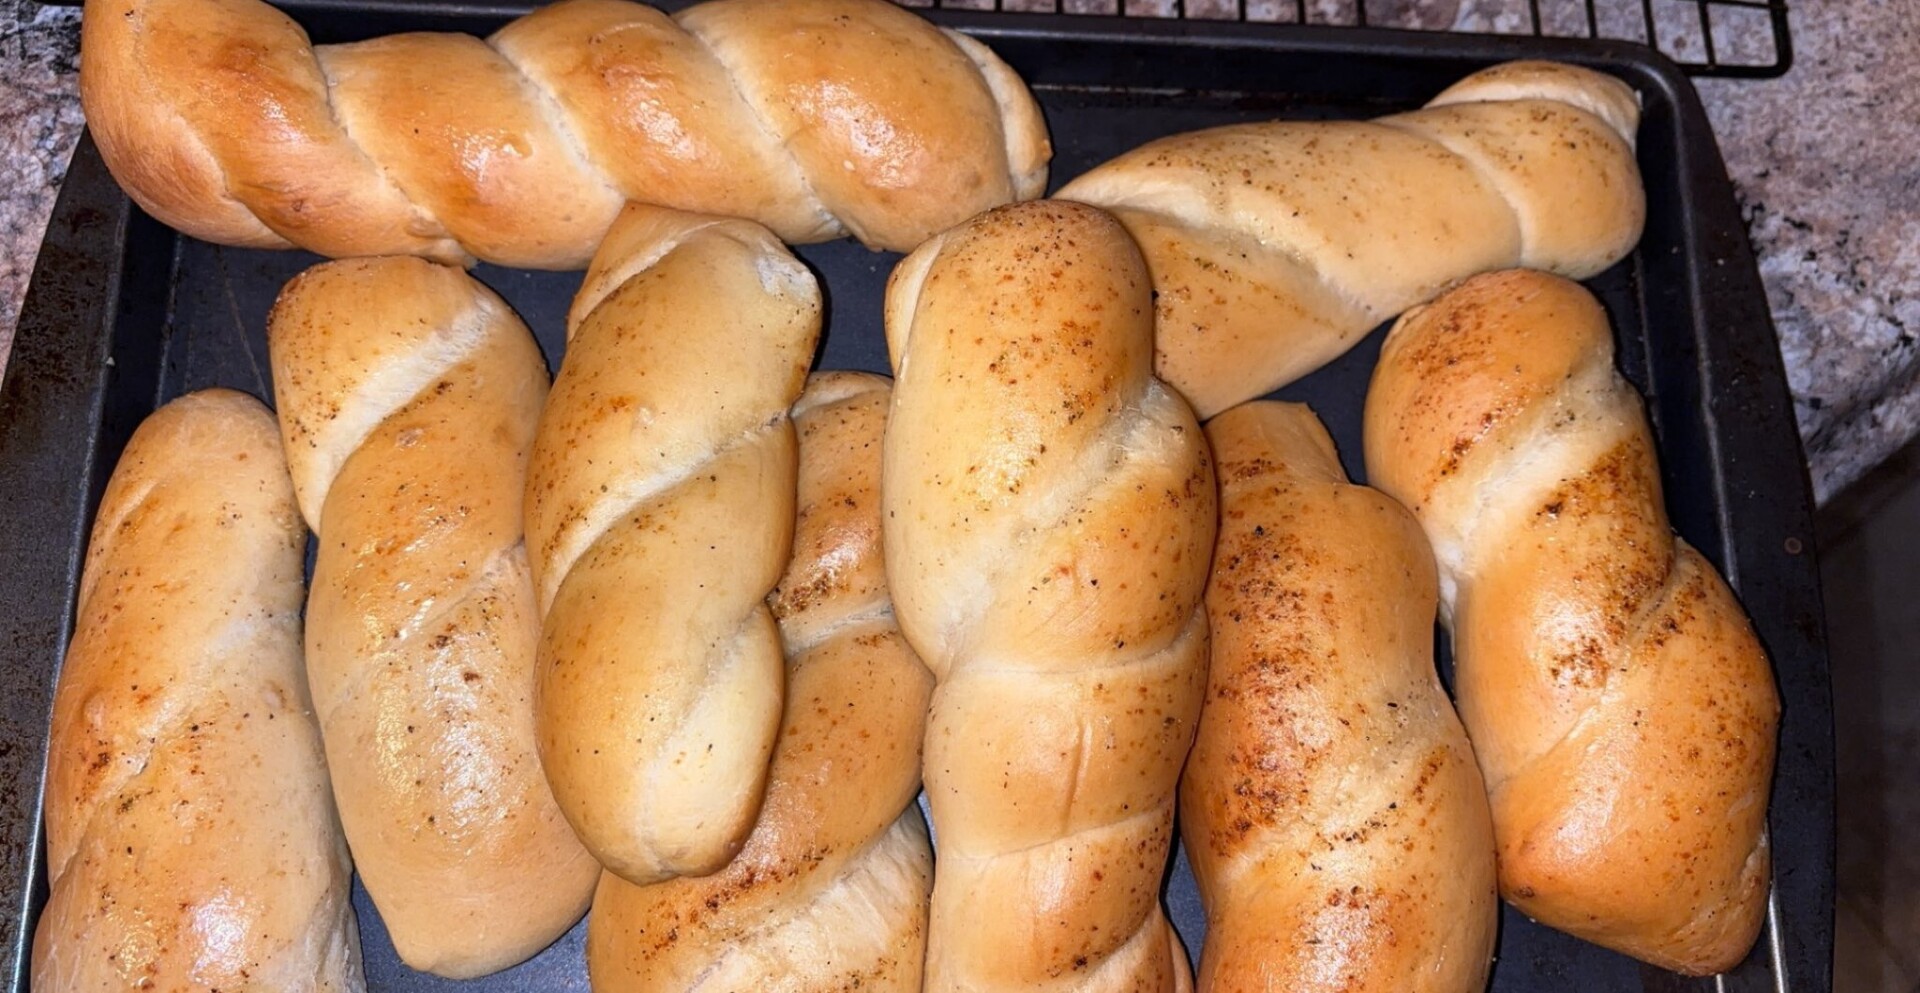
Just remember, if you're making breadsticks, brush them with an egg wash and sprinkle sesame seeds on top before baking for that extra touch.
A common consensus among home cooks is that homemade bread tastes best when it’s fresh out of the oven. But if you have any leftovers, you can store the bread at room temperature for a few days or freeze it for later. Just make sure to wrap it tightly to keep that freshness locked in.
All-purpose flour is commonly used for homemade bread, but bread flour can provide better structure and chewiness due to its higher protein content. The total time to make homemade bread is typically around 4 to 6 hours, including rising time and baking. Yes, you can add herbs, cheese, or other ingredients to your bread dough for added flavor. Just make sure not to exceed the recommended amount of added ingredients to maintain the dough's consistency. If your bread does not rise, check the freshness of your yeast and ensure you are using the correct water temperature when activating it. Warmer water (about 100F to 110F) is usually ideal for activating yeast. Homemade bread should be stored at room temperature in a breadbox or wrapped in a cloth to maintain freshness. For longer storage, slice and freeze the bread.Frequently Asked Questions
What type of flour is best for homemade bread?
How long does it take to make homemade bread?
Can I add ingredients like herbs or cheese to my bread?
What should I do if my bread does not rise?
How should I store homemade bread?
Wrapping Up
Making homemade bread is a rewarding experience that fills your home with warmth and delicious aromas. Once you get the hang of it, you'll find it hard to go back to store-bought loaves. So grab your ingredients and let's make some fresh-baked magic in the kitchen.
Recipe created by Blue Collar Chef for Trust Me Try It.
Even more from Blue Collar Chef


Ingredients
- 5 to 6 cups bread flour
- 3 tablespoons sugar
- 2 teaspoons salt
- 2 pkg. active dry yeast
- 2 cups water
- ¼ cup oil or shortening
- I tablespoon butter (melted)
Instructions
- In large bowl, combine 2 cups flour, sugar, salt and yeast; mix well
- In small saucepan, heat water and oil until very warm (120 to 130°F.)
- Add warm liquid to flour mixture; blend at low speed until moistened Beat 3 minutes at medium speed
- By hand stir in an additional 2½ to 3 cups flour until dough pulls cleanly away from sides of bowl
- On floured surface, knead in ½ to 1 cup flour until dough is smooth and elastic, about 5 minutes
- Place dough in greased bowl; cover loosely with greased plastic wrap and cloth towel
- Let rise in warm place (80 to 85°F) until light and doubled in size, 45 to 60 minutes
- Grease two 8×4 or 9×5-inch loaf pans
- Punch down dough several times to remove all air bubbles
- Divide dough in half, shape into loaves
- Place in greased pans
- Cover; let rise in warm place until dough fills pans and tops of loaves are about 1 inch above pan edges, 30 to 35 minutes
- Heat oven to 375°F
- Uncover dough
- Bake 40 to 50 minutes or until loaves sound hollow when lightly tapped
- Immediately remove from pans; place on wire racks
- Brush with melted margarine
- Cool 1 hour or until completely cooled
- Breadsticks: 🥖 After first rise time, punch down dough
- Divide dough in half
- Cut each half into 32 pieces; shape each into an 8-inch-long breadstick
- Place on greased cookie sheets
- Brush with beaten egg white; sprinkle with sesame seed
- Cover; let rise in warm place about 30 minutes or until doubled in size
- Bake at 400°F
- for about 14 minutes
- YIELD: 64 BREADSTICKS Butter-Topped Mini-Loaves: After first rise time, punch down dough
- Divide dough into 12 equal pieces
- Shape each piece into a 7-inch oblong loat; taper ends
- Place loaves 3 inches apart on greased cookie sheets
- Cover; let rise in warm place until doubled in size, about 45 min-utes
- Make ¼-inch-deep slit down center of each loaf
- Drizzle each with 1 teaspoon melted butter
- If desired, sprinkle with sesame seed or poppy seed
- Bake at 375°F
- for 20 to 25 minutes or until loaves sound hollow when lightly tapped
- Makes: 12 Mini loaves Cinnamon Swirl Bread: 🥯 After first rise time, punch down dough
- Divide dough in half
- Shape each half into 14×7-inch rec-tangle
- Brush with melted margarine or butter
- Sprinkle each with mixture of ¼ cup sugar and 1 teaspoon cinnamon
- Starting with 7-inch side, roll up
- Seal edges; place seam side down in greased loaf pans
- Let rise and bake as directed above
- Hamburger Buns: 🍔 After first rise time, punch down dough
- Divide dough in half; shape each half into eight 2-inch balls
- If desired, flatten slightly
- Place on greased cookie sheets
- Cover: let rise in warm place about 30 minutes
- Bake at 400°F
- for about 15 minutes
- YIELD: 16 BUNS Raisin Bread: 💜 Add ½ teaspoon cinnamon with the salt and stir in 1 cup raisins after beating step
- Continue as directed above
- Chefs Note: (YEAST TIP) Yeast is a living organism: If the liquid is too hot, the yeast will be killed; too cold and the yeast will remain dormant and not raise the dough


I have always wanted to make my own bread! With this recipe from Blue Collar Chef, I feel confident enough to try this! Thank you for sharing this recipe!
Hey Brad! Thank you so very much!!!