Quick Pickled Red Onions Recipe
Author

Want to see more of my creations?
Tell Google you want to see more of my creations in your search results.
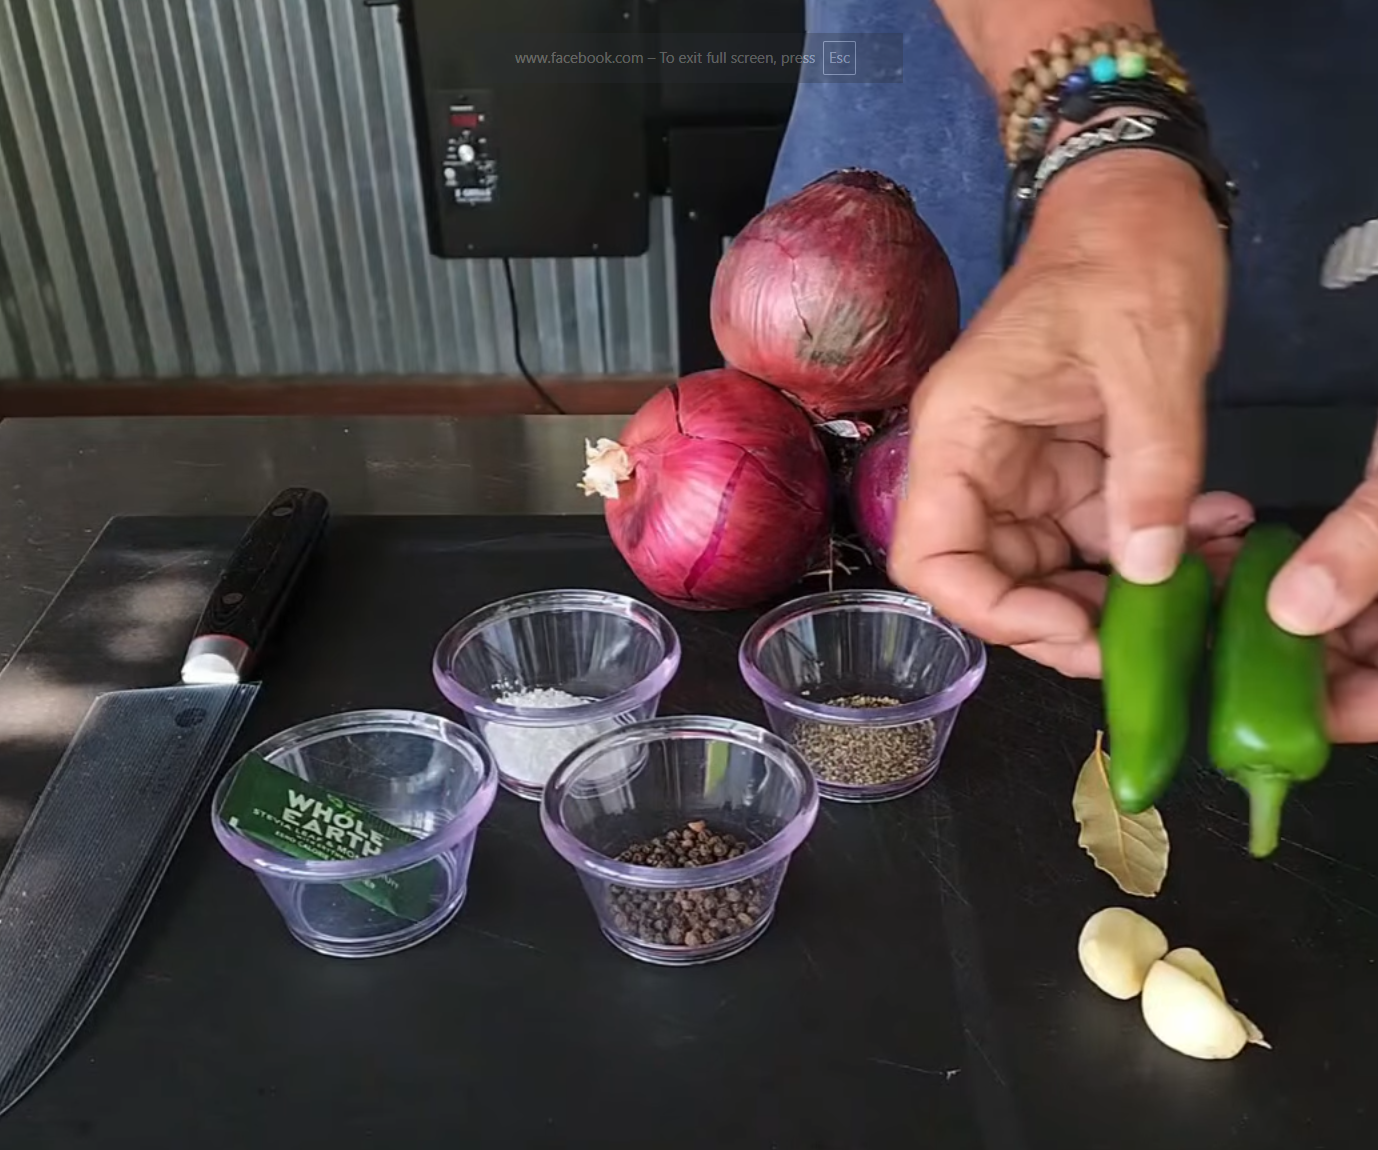
A good Quick Pickled Red Onions Recipe is one of those little kitchen moves that makes everything you put it on taste like you planned ahead. I keep a jar in the fridge for taco night, smoked brisket sandwiches, burgers, salads, and those random leftover bowls that need a sharp, crunchy wake-up call.
More recipes from @thegalleryBBQ that you'll love
Watch How to Make It
You only need onions, vinegar, water, salt, and a little sugar to make it happen. The warm brine softens the raw onion bite without turning the slices mushy, and the color goes from deep purple to that gorgeous bright pink we all love.
I learned early on that the best toppings don't always take all day. These onions are ready after a short chill, but give them a few hours and they get tangier, crisper, and even more addictive. Trust me, that jar disappears faster than a cold beer in July.
Why You'll Love This Recipe
These quick pickled onions bring the balance every rich, smoky, cheesy, or spicy meal needs. They're tart, lightly sweet, salty, and still have a clean crunch that cuts right through fatty pulled pork, crispy carnitas, or a big loaded burger.
I like this method because there is no canning setup, no giant stockpot, and no waiting days before you can eat them. We are making refrigerator pickled red onions, so the process stays easy and low stress while still delivering big flavor.
You can use white vinegar for a clean, bright pickle flavor or apple cider vinegar for a slightly fruitier tang. Toss in garlic, peppercorns, mustard seeds, herbs, or red pepper flakes if you're feeling ambitious, but the basic version is already a heavy hitter.
Ingredients & Tools You'll Need
Grab 2 to 3 medium red onions and slice them thin. Thin slices are important because they absorb the brine quickly while keeping a crisp little snap, instead of feeling like a raw onion chunk on your sandwich.
For the brine, you'll need 1 cup white vinegar or apple cider vinegar, 1 cup water, 1 tablespoon sugar, and 1 1/2 teaspoons kosher salt. If you're using fine salt, use 1 teaspoon instead because those smaller grains pack more salt into the same measuring spoon.
The sugar is optional, but I use it because it rounds off that aggressive vinegar edge without making the onions sweet. It is more like a background note that lets the onion flavor come through clean and balanced.
A clean glass jar with a lid is the best tool here, preferably one with a wide mouth so you can pack in the onions and fish them back out easily. You'll also need a sharp knife or mandoline, a cutting board, and a small saucepan for warming the brine.
If you want to build extra flavor, throw in 1 or 2 garlic cloves, 1 teaspoon whole black peppercorns, 1 teaspoon mustard seeds, a bay leaf, fresh dill, thyme, or a pinch of red pepper flakes. You don't need every add-in at once – pick one or two and let them do their thing.
How To Make It
This is a simple warm-brine method, and it is built for fast results. The heat dissolves the salt and sugar, helps the onion slices relax just enough, and gets the flavor moving without fully cooking them.
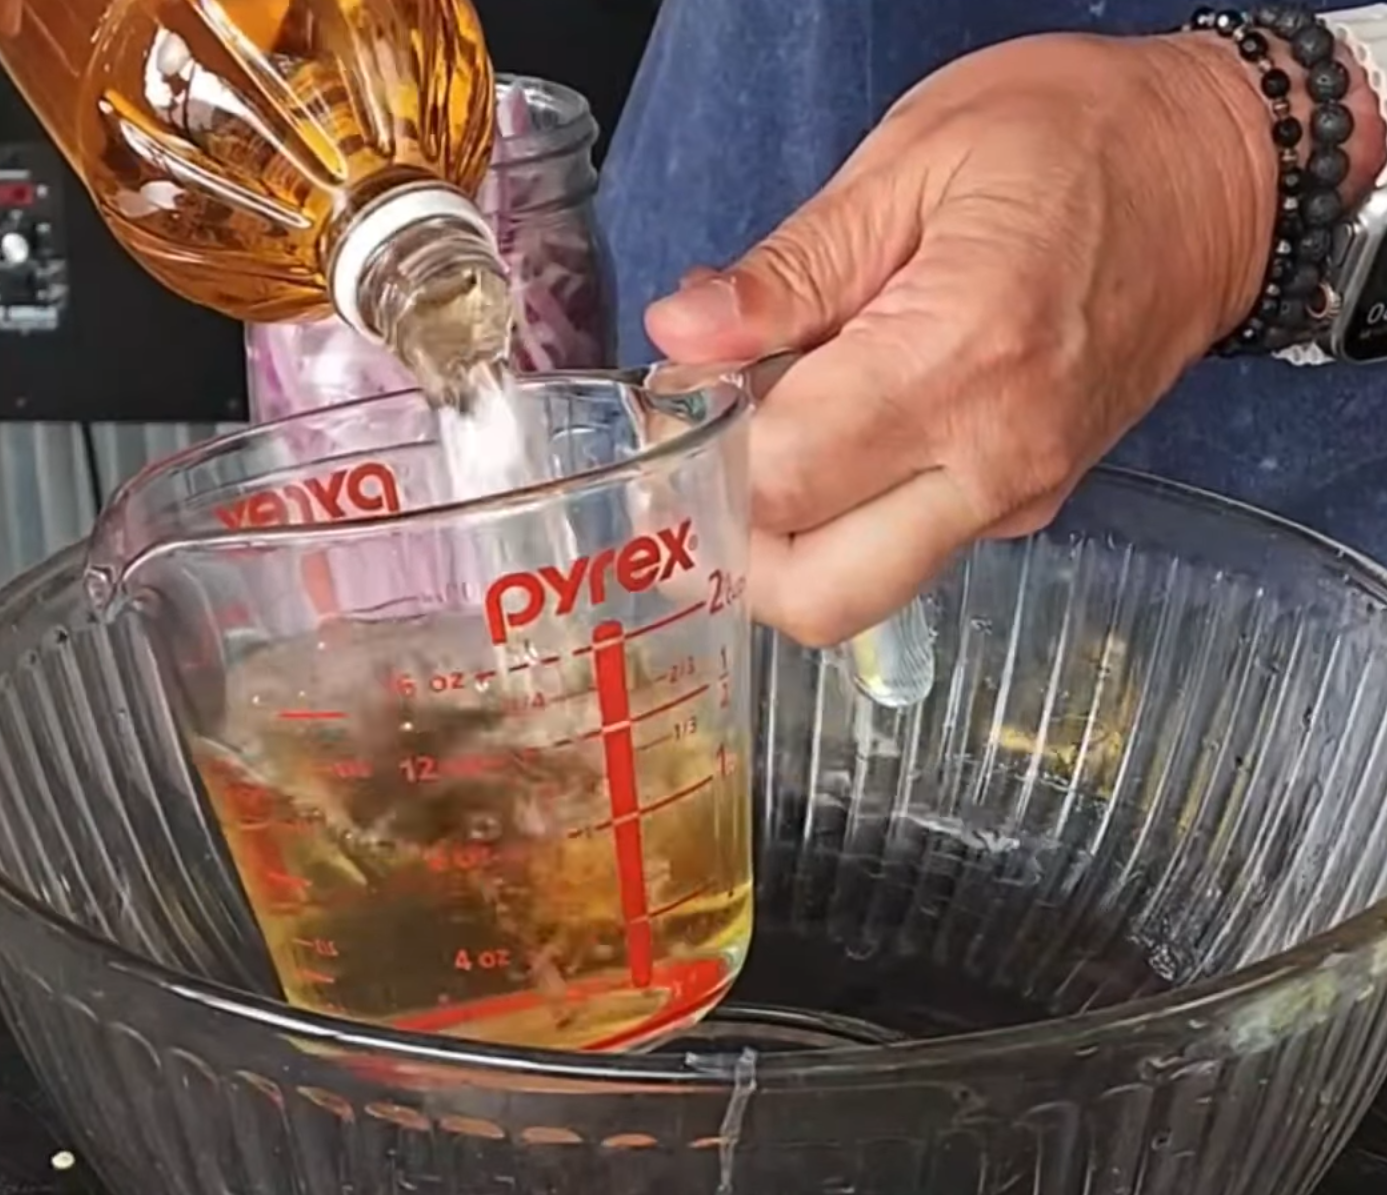
The goal is not boiling hot onions. We want onions that stay crisp but lose that harsh, eye-watering raw edge, with a brine that tastes bright, clean, and balanced.
Preparation
Start by peeling the red onions and slicing them as evenly and thinly as you can. A mandoline gives you restaurant-style slices in a hurry, but a sharp knife works just fine – just take your time and keep those slices close to the same thickness.
Pack the onions into a clean glass jar without smashing them down too hard. You want them snug enough that the brine covers everything, but not packed so tightly that the liquid cannot move between the slices.
Add any optional flavorings directly to the jar before pouring in the brine. Garlic gives the onions a savory edge, dill makes them feel right at home on barbecue sandwiches, and red pepper flakes bring a slow little heat that works great with tacos.
In a small saucepan, combine the vinegar, water, sugar, and salt. Warm the mixture over medium heat just until the salt and sugar disappear into the liquid and the vinegar smell starts drifting up from the pan.
Cooking
There is no real cooking here, which is exactly why this recipe is such a refrigerator MVP. Once the brine is hot enough to dissolve the seasonings, pull it from the heat – you should see a little steam and maybe a few tiny bubbles around the edge, but no hard boil.
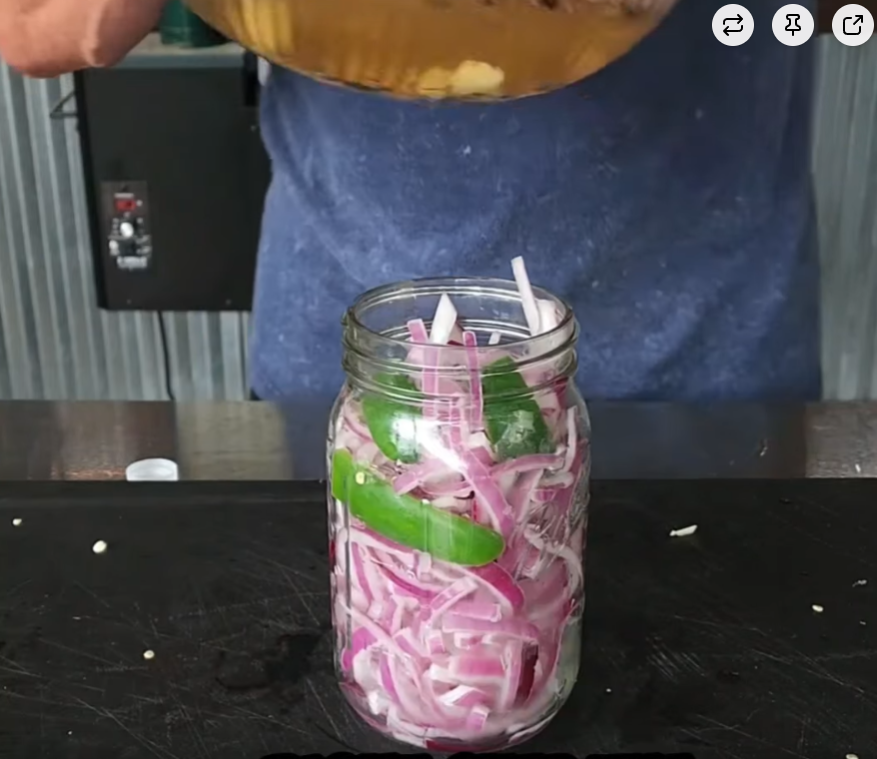
This is where most recipes go wrong: they blast the brine into a rolling boil and leave the onions sitting in it too long, which can make them soft and dull. I warm the brine only until clear, then pour it over the onions right away for a brighter color and a better crunch.
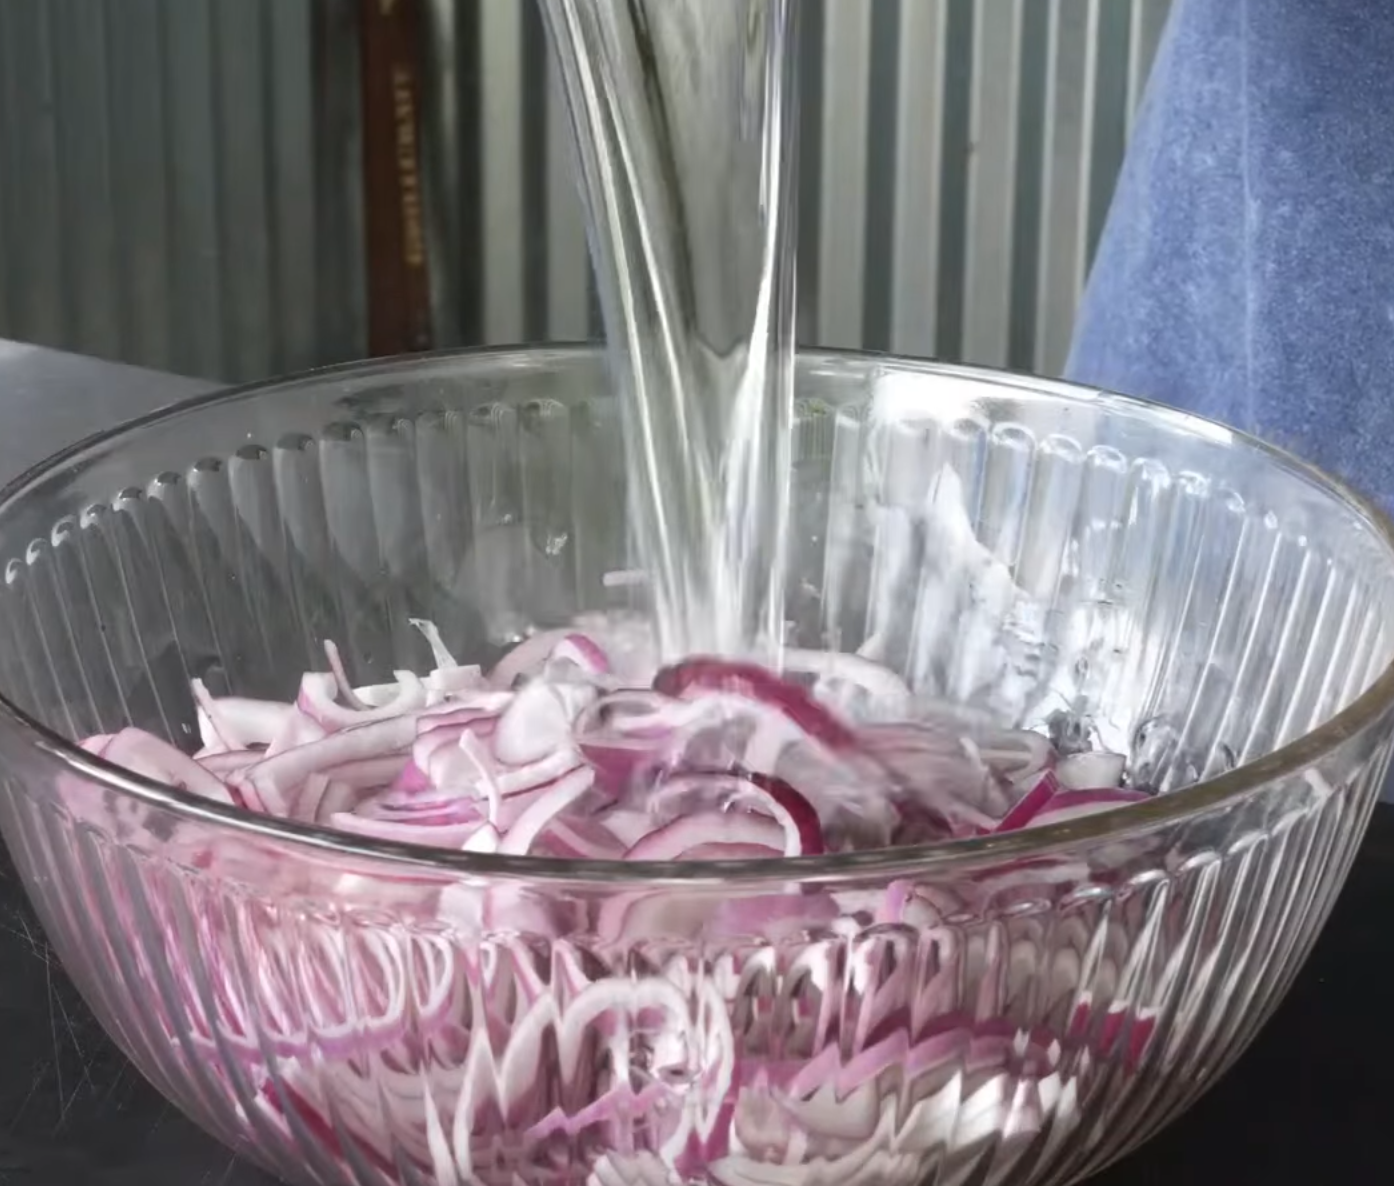
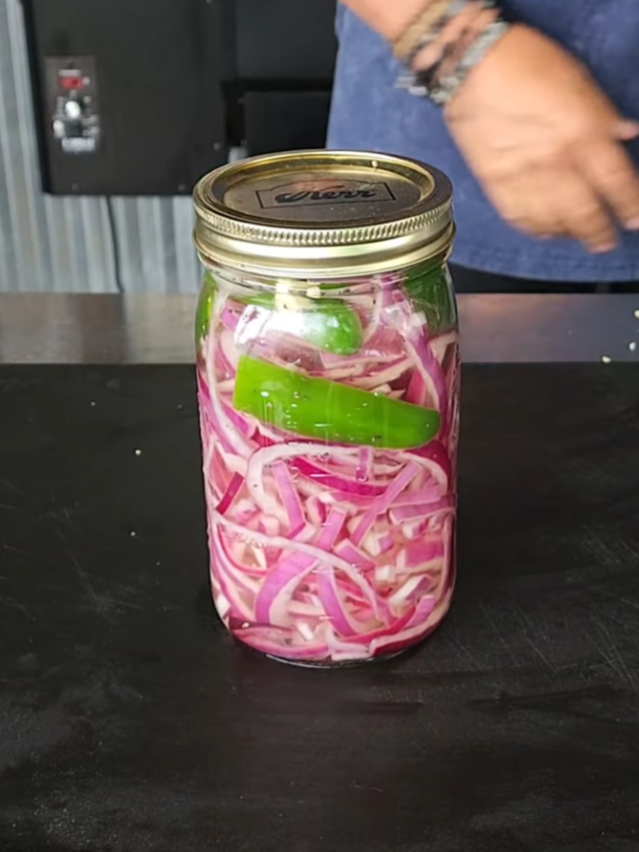
Pour the warm brine into the jar until every onion slice is submerged. You might hear a gentle hiss as the warm liquid hits the cool jar and onions, and the purple slices will begin turning pink almost immediately – that's when the magic starts.
Let the jar sit uncovered until it reaches room temperature. The onions should look glossy and slightly softened around their edges, but when you lift one with a fork it should still bend with a little resistance instead of falling limp.
Cover the jar and refrigerate it for at least 30 minutes. They'll be good then, no question, but after a few hours the brine settles into every layer and the onion flavor gets mellow, tangy, and seriously snackable.
Serving & Variations
Pile these quick pickled red onions on smoked chicken tacos, pulled pork sandwiches, grilled sausages, burgers, brisket nachos, or a simple black bean bowl. They are also killer on creamy potato salad, avocado toast, grain salads, and anything with rich cheese or barbecue sauce.
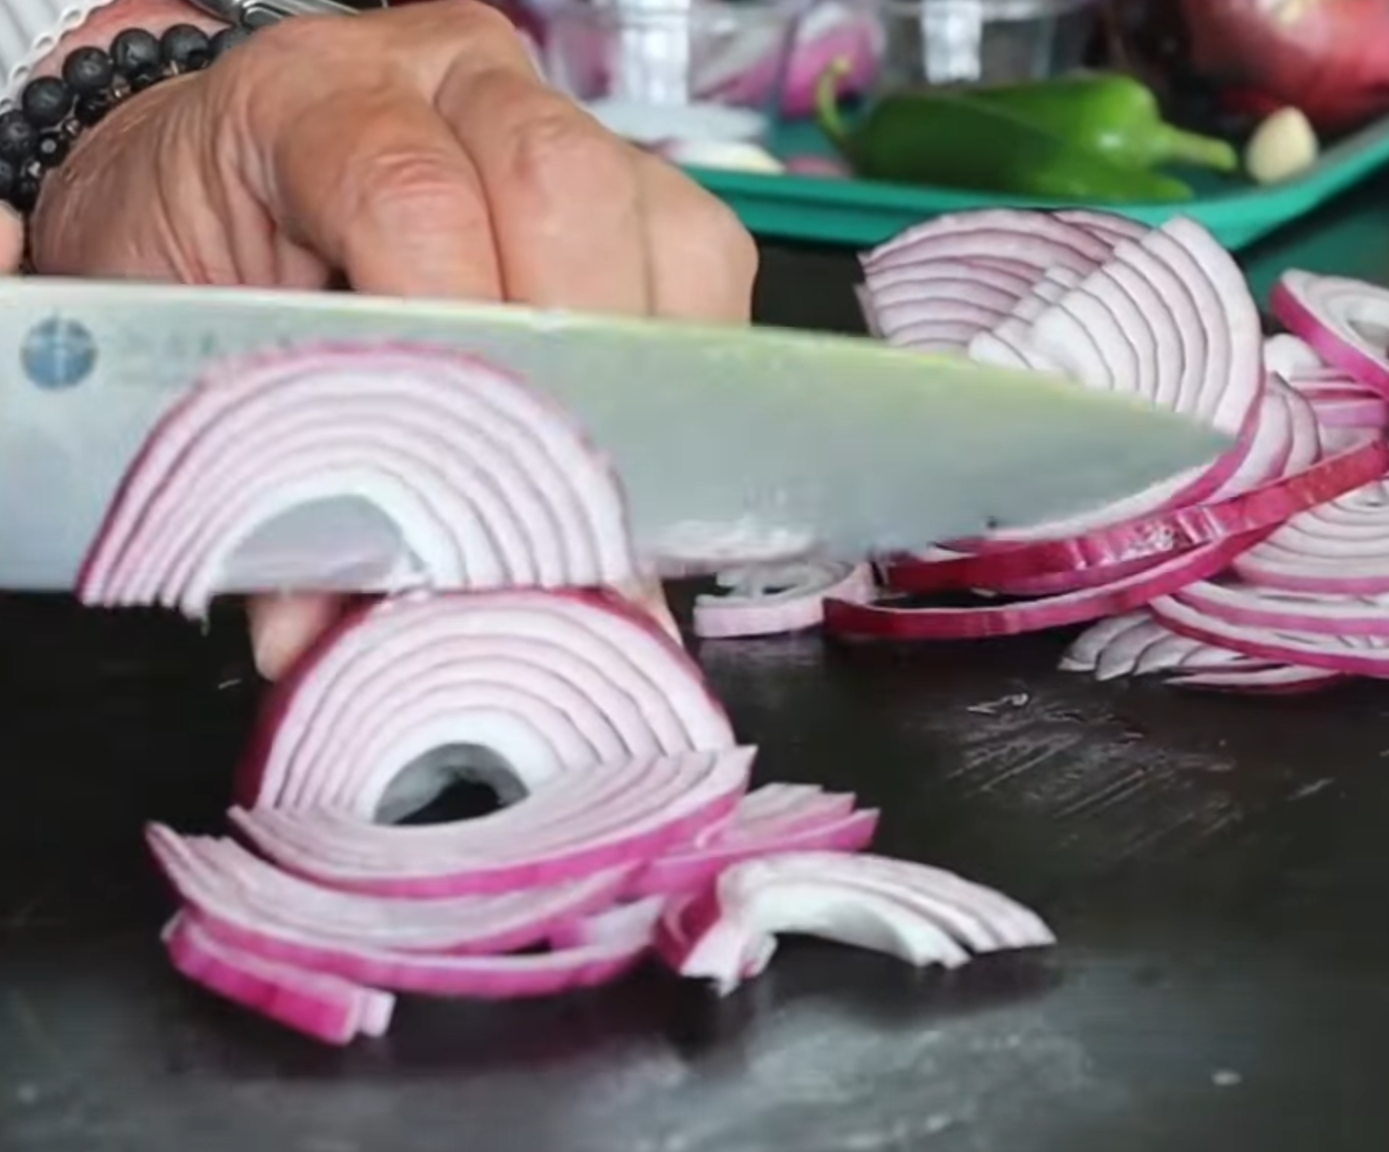
A common consensus among home cooks is: slice the onions very thin and give them enough time in the fridge before judging the flavor. That's the difference between a sharp vinegar-onion bite and a balanced topping you keep grabbing straight from the jar.
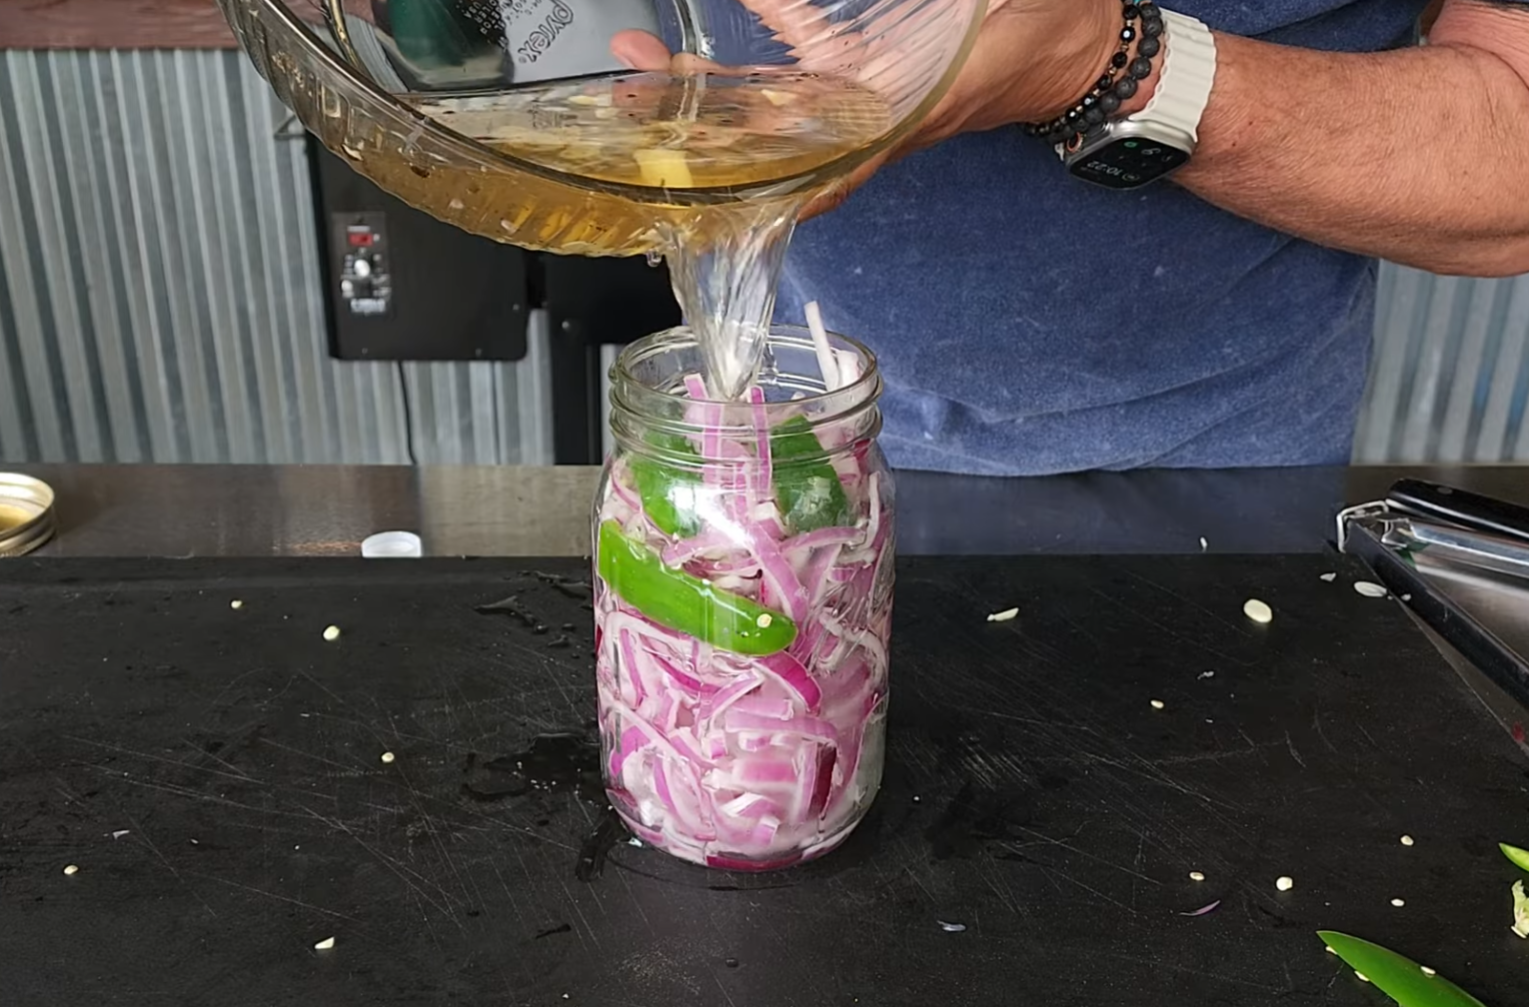
Here's my pro tip – after you use up about half the onions, top the jar off with a few fresh thin onion slices and let them sit overnight. The seasoned leftover brine gives you a quick second batch with deeper flavor, as long as it still smells clean and the onions have stayed refrigerated.
For a more barbecue-friendly version, use apple cider vinegar, fresh dill, garlic, and black peppercorns. For taco night, go with white vinegar, mustard seeds, and red pepper flakes, then spoon a little of that spicy brine over your meat if you want an extra tangy kick.
Keep the jar refrigerated for up to 2 to 3 weeks and always use a clean fork or spoon to pull out what you need. If the brine turns cloudy in a strange way, smells off, or the onions feel slimy, toss them out – but honestly, mine rarely last long enough for that to matter.
They are usually ready to eat after 30 minutes, but the flavor improves after a few hours in the refrigerator. Stored in a clean, sealed jar in the refrigerator, pickled onions typically last up to 2 weeks. Yes. Red onions add bright color and a mild flavor, but white or yellow onions can also be used. No. This is a quick refrigerator pickle recipe, so the onions should be kept chilled and are not shelf stable.Frequently Asked Questions
How long do pickled onions need to sit before eating?
How long do homemade pickled onions last?
Can I use white onions instead of red onions?
Do pickled onions need to be canned?
Wrapping Up
Once you make these, you'll understand why I always keep a jar around. A few pink onion slices can turn a decent plate into something that tastes bright, balanced, and flat-out better, whether you're cooking on the grill or cleaning out the fridge.
Make them today, let them chill while you fire up the backyard cooker, and load them onto whatever you're serving. Recipe created by @thegalleryBBQ for Trust Me Try It.
Even more from @thegalleryBBQ

Ingredients
- 2-3 medium red onion, thinly sliced
- 1 cup white vinegar or apple cider vinegar
- 1 cup water
- 1 tbsp sugar I went healthy optional, but balances the acidity
- 1 1/2 tsp kosher salt or 1 teaspoon fine salt
- Optional flavorings:
- 1-2 garlic cloves
- 1 tsp whole black peppercorns
- 1 tsp mustard seeds
- 1 bay leaf
- A few sprigs of fresh dill or thyme
- A pinch of red pepper flakes for heat
Instructions
- Thinly slice the onion and pack it into a clean glass jar.
- In a small saucepan, combine the vinegar, water, sugar, and salt. Heat just until the sugar and salt dissolve (no need to boil).
- Pour the warm brine over the onions, making sure they’re fully submerged.
- Let cool to room temperature.
- Cover and refrigerate for at least 30 minutes. They’re even better after a few hours or overnight.
- Storage
- Keep refrigerated for up to 2-3 weeks.
- Always use a clean utensil when removing onions from the jar.