5 Hour Juicy No-Wrap Ribs Recipe
Author
Want to see more of my creations?
Tell Google you want to see more of my creations in your search results.
More recipes from @thegalleryBBQ that you'll love
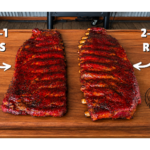
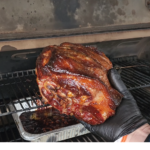
Why You’ll Love This Recipe
There’s nothing quite like the smell of juicy, smoky ribs wafting through the backyard, right? I mean, if you’re like me, the moment those baby back ribs hit the grill, the excitement starts to build. This 5 Hour Juicy No-Wrap Ribs Recipe is all about keeping it simple, yet delivering that mouthwatering flavor that makes everyone gather around the grill.
Watch How to Make It
And trust me, with just a few easy steps, you’ll be the rib master of your neighborhood.
Let’s talk about what makes these ribs so special. First off, the no-wrap method lets the smoke work its magic directly on the meat, creating a beautiful bark that’s packed with flavor. Plus, who wants to deal with foil, anyway?
We’re going for a straightforward approach that guarantees tender, juicy ribs in about five hours, making it perfect for a weekend cookout or just a lazy afternoon in the backyard.
Now that I’ve got your taste buds tingling, let’s dive into the details of this recipe, so you can impress your friends and family with your backyard BBQ skills.
Ingredients & Tools You’ll Need
To whip up these delicious ribs, you’ll need a few simple ingredients. Grab yourself one rack of baby back ribs, your favorite BBQ rub, and of course, your go-to BBQ sauce to finish them off. For spritzing, a mix of water and apple cider vinegar does wonders to keep moisture locked in.
I like to keep it easy, so I usually just go with a 50/50 mix.
As for tools, a good smoker is essential. I recommend using a Masterbuilt Gravity Series for this recipe, as it holds the temperature steady and provides that even smoke you want. Also, don’t forget a spray bottle for your spritzing mix, and maybe some foil to catch any drips when you’re saucing.
It’ll make cleanup a breeze!
How To Make It
Alright, let’s get into the fun part-cooking these ribs. The process is pretty straightforward, and I promise you’ll feel like a pro by the end. Just follow these steps, and you’ll have juicy, flavorful ribs that’ll impress everyone.
Preparation
First things first, you want to get your ribs ready. Remove them from the packaging and pat them dry with some paper towels. This helps the rub stick better.
Take a good look at the rack and trim away any loose bits of meat or excess fat. If you see that thin membrane on the back, you can either score it or remove it entirely-this part is up to you.
Once your ribs are prepped, it’s time to apply that rub. I like to start on the back side first, then flip the rack over and generously season the top. Let them rest on the cutting board for a bit while your smoker heats up.
This resting time allows the rub to draw moisture from the meat, making it even more flavorful.
Cooking
Now that your smoker is preheated to about 250-275°F, it’s time to load up those ribs. Place them membrane side down on the middle rack and close the lid. You don’t want to peek too much; just let the smoke work its magic for the first two hours.
At the two-hour mark, you’ll want to check on them and spritz with your water and vinegar mix to keep them moist.
After spritzing, close the lid and let them cook for another hour to an hour and a half. This is where you really start to see the magic happen. Around the four-hour mark, check for doneness.
The ribs should be tender, and you’ll know they’re ready when a toothpick slides into the meat between the bones with little resistance. If you hit around 200°F internal temp, you’re golden.
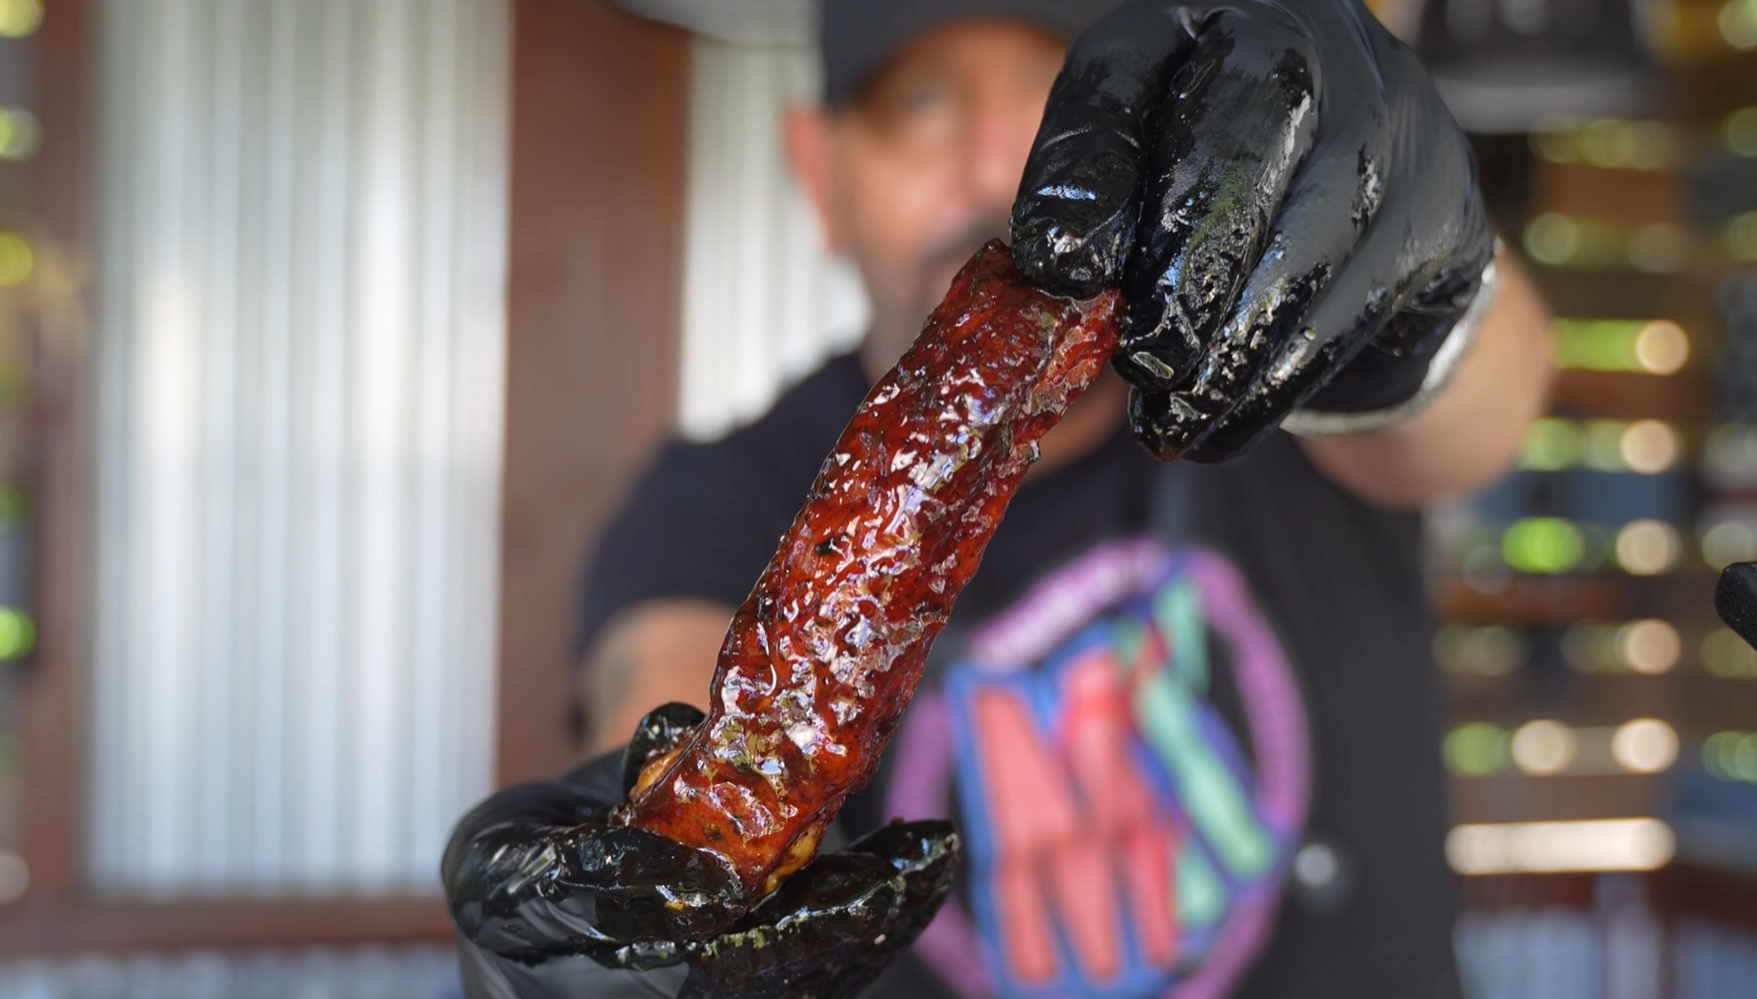
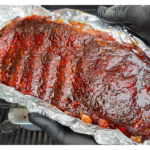
Once they’re done, brush on that BBQ sauce generously. For easier cleanup, place a sheet of foil beneath the ribs before saucing to catch any drips. Close the lid and let the sauce set for about 10 minutes.
Then, remove the ribs and let them rest for about 10-15 minutes before slicing between the bones. Trust me, this resting time allows all those flavors to settle in.
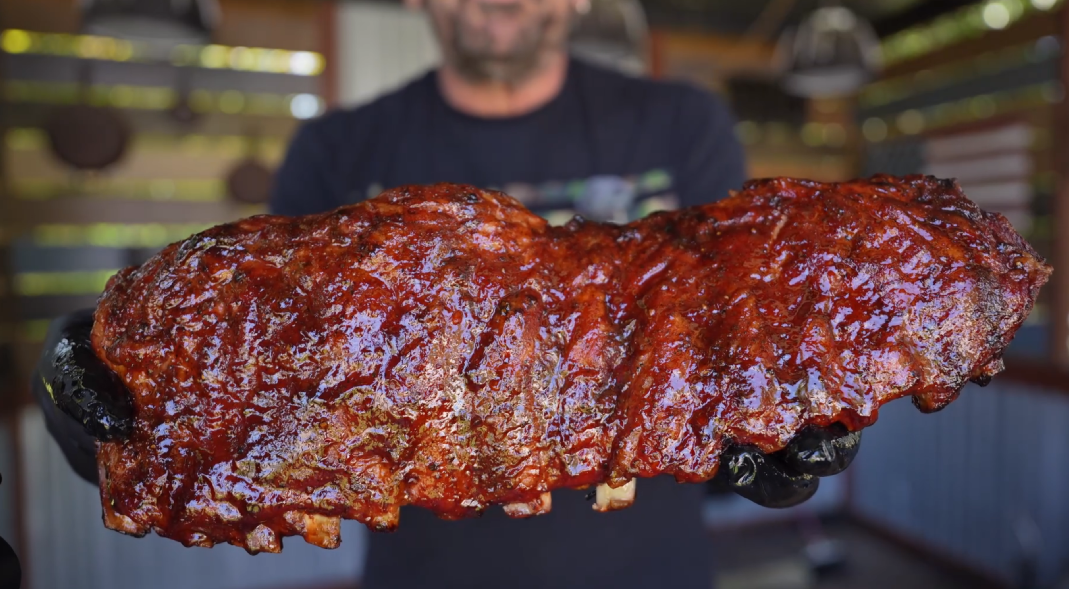
Serving & Variations
When it comes to serving, these ribs are a showstopper on their own. Slice them up and serve them with extra BBQ sauce on the side for dipping. They pair beautifully with classic sides like coleslaw, baked beans, or cornbread.
Feel free to get creative too-try adding a twist with different rubs or sauces. A spicy rub or a sweet glaze can completely change the game.
A common consensus among home cooks is: letting the ribs rest after cooking makes a huge difference in texture and flavor. So, don’t skip that rest time! If you have leftovers (which rarely happens), you can store them in an airtight container in the fridge.
Just reheat them gently to keep them tender.
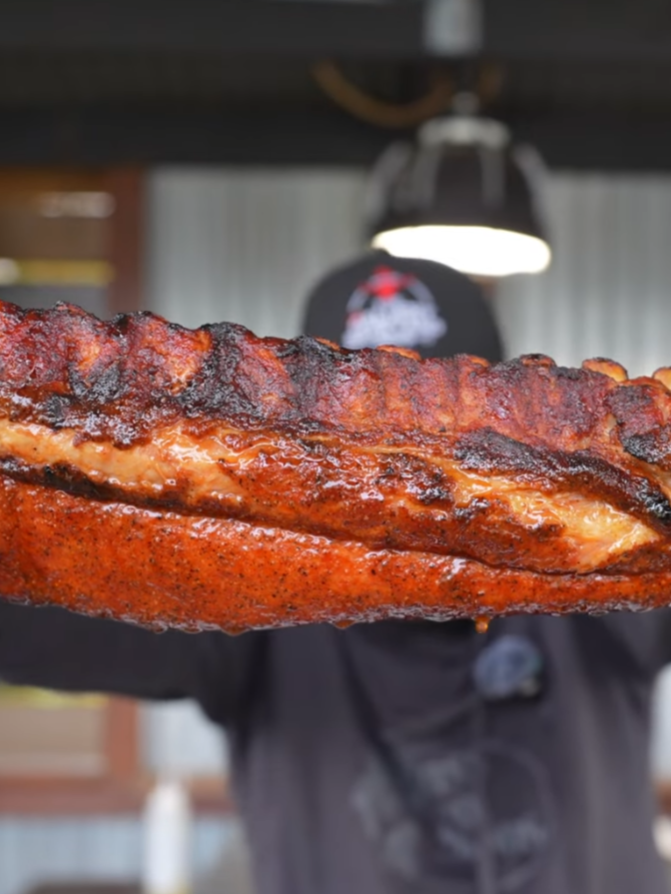
So there you have it-a simple, delicious way to enjoy fall-off-the-bone baby back ribs without all the fuss of wrapping. These 5 Hour Juicy No-Wrap Ribs will have everyone coming back for more, and you’ll feel like a BBQ champ in no time.
You can use either baby back ribs or spare ribs for this recipe, depending on your preference. The ribs will take approximately 5 hours to cook in total. You should preheat your oven to 300F for cooking the ribs. No, the recipe is designed to cook the ribs without wrapping them at any point. Yes, feel free to customize the rub or seasoning according to your taste preferences.Frequently Asked Questions
What type of ribs should I use for the 5 Hour No-Wrap Ribs recipe?
How long does it take to cook the ribs?
What oven temperature do I need for this recipe?
Do I need to wrap the ribs during cooking?
Can I use a different type of seasoning for the ribs?
Wrapping Up
Secondly, the simplicity of this recipe means you don’t need to be a grill master to nail it. We’re talking about a straightforward process that leaves you plenty of time to kick back with a cold drink while the ribs do their thing. The spritzing technique keeps everything moist and flavorful, so you don’t have to worry about drying them out.
It’s all about enjoying the moment and letting the grill do the heavy lifting.
Lastly, these ribs are a definite crowd-pleaser. Whether you’re hosting a big barbecue or just having a casual get-together, these juicy no-wrap ribs will be the star of the show. They disappear faster than a cold beer in July, and you’ll be the hero of the day.
So, let’s get into the nitty-gritty of how to make these bad boys.
Recipe created by @thegalleryBBQ for Trust Me Try It.
Even more from @thegalleryBBQ
Ingredients
- 1 rack baby back ribs
- Your favorite BBQ sauce
- Your favorite BBQ rub
- Water or a 50/50 mix of water and apple cider vinegar (for spritzing)
Instructions
- Remove the baby back ribs from the packaging and pat them dry with paper towels. Trim away any loose pieces of meat, excess fat or bones protruding through the surface.
- Flip the ribs over and remove the membrane from the back of the rack. You can also lightly score the membrane with a knife instead of removing it completely.
- Apply your favorite BBQ rub to the back of the ribs. Flip the rack over and generously season the top and sides.
- Allow the ribs to rest while the seasoning begins drawing moisture from the meat. Meanwhile, fill the hopper of your Masterbuilt Gravity Series smoker with lump charcoal and preheat it to 250-275°F.
- Place the ribs membrane-side down on the middle cooking rack. Close the lid and cook for 2 hours.
- Check the ribs to make sure they are cooking evenly. Lightly spritz them with water or a 50/50 mixture of water and apple cider vinegar.
- Close the lid and continue cooking for another 1 to 1 1/2 hours. Begin checking the ribs for doneness around the 4-hour mark.
- The ribs are ready when they reach approximately 200°F internally and a toothpick or temperature probe slides between the bones with very little resistance.
- Brush the ribs generously with your favorite BBQ sauce. For easier cleanup, place a sheet of foil underneath the ribs before saucing.
- Close the lid and cook for another 10 minutes, or until the sauce is set and tacky.
- Remove the ribs from the smoker and let them rest for 10-15 minutes. Slice between the bones and serve.